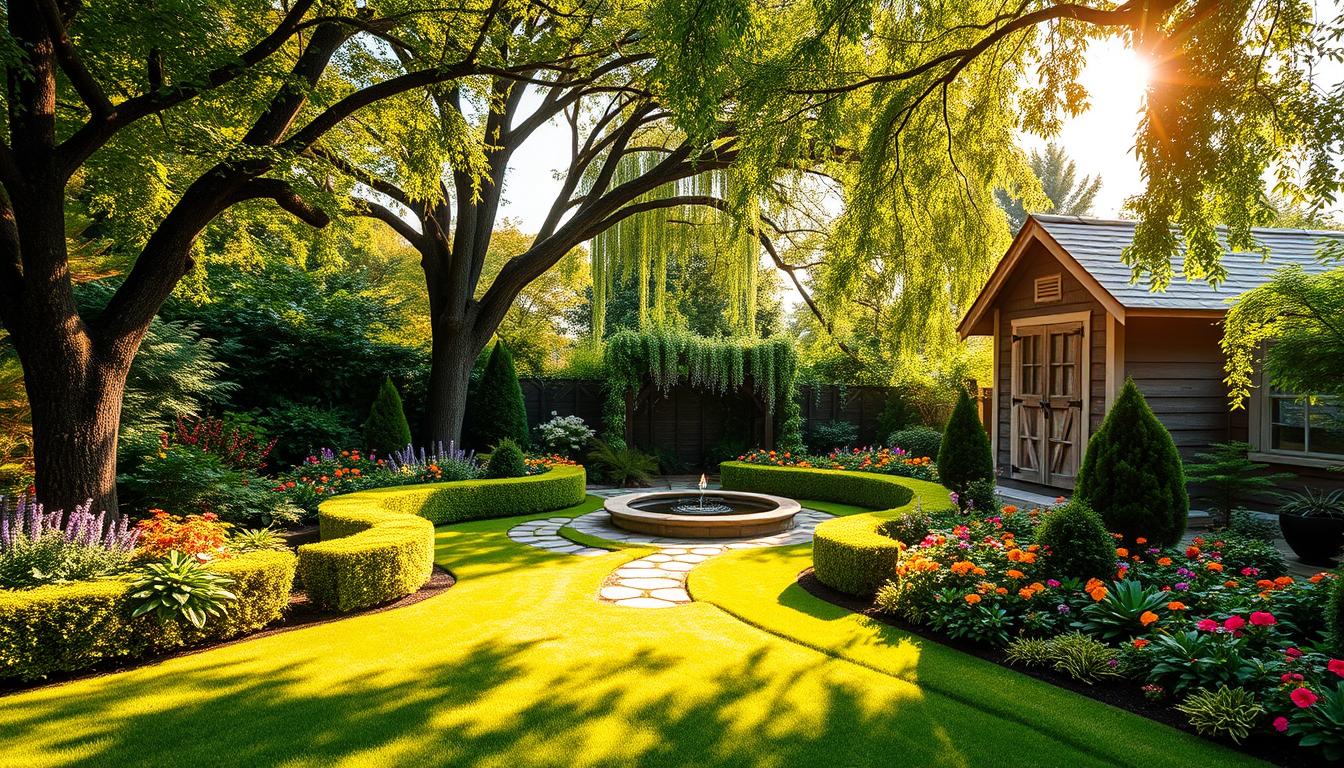
Creating a beautiful and productive outdoor space is both an art and a science. Whether you’re starting fresh or revamping an existing area, the right design can transform your garden into a thriving haven. Balancing creativity with practicality is key to achieving a space that works for you.
Steven Biggs, a renowned horticulturist, often describes the yard as a canvas for edible landscapes. His philosophy emphasizes tailoring your garden to meet personal needs and preferences. There’s no one-size-fits-all solution, but with thoughtful planning, you can create a space that’s both functional and visually appealing.
This guide will walk you through essential steps, from assessing your space to planning for seasonal changes. Whether you’re growing vegetables, flowers, or a mix of both, the goal is to craft a design that suits your lifestyle. Ready to get started? Explore more tips in our gardening for beginners guide.
Key Takeaways
- Optimize your outdoor space for beauty and productivity.
- Balance creativity with practical considerations.
- Tailor your design to meet personal needs and preferences.
- Plan for seasonal changes to maintain a thriving garden.
- Use your yard as a canvas for edible landscapes.
Introduction to Garden Layouts
Gardens come in many forms, each offering unique benefits and challenges. Whether you’re growing vegetables, flowers, or a mix of both, understanding the types of spaces you can create is essential. From functional vegetable plots to ornamental displays, the possibilities are endless.
Vegetable gardens focus on growing edible plants, making them ideal for those who enjoy fresh produce. Ornamental gardens, on the other hand, prioritize beauty, often featuring colorful flowers and decorative elements. Mixed-use spaces combine both, offering a balance of aesthetics and functionality.
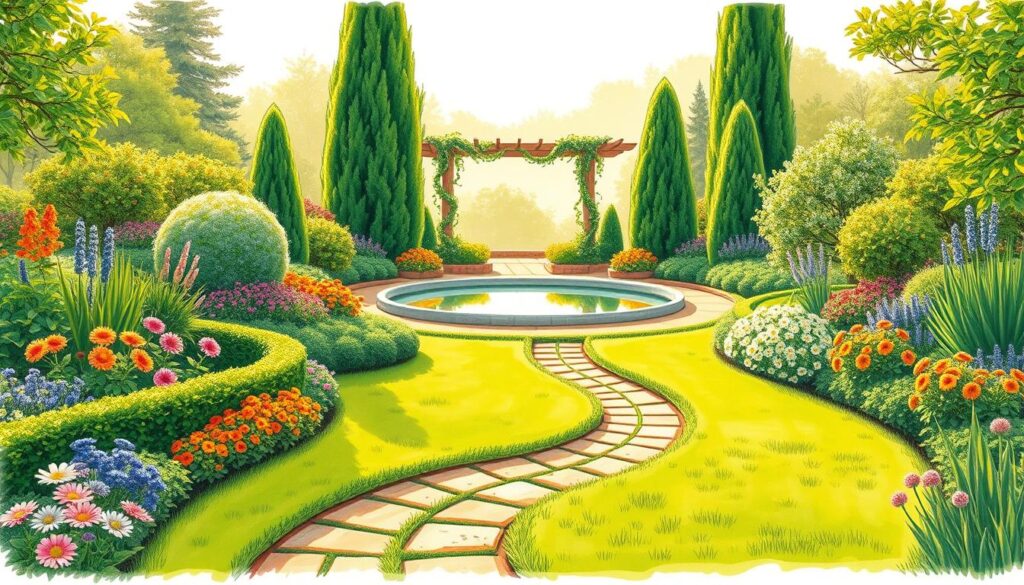
Lori, a seasoned gardener, suggests starting small with a 10’x10’ plot for beginners. This manageable size allows you to learn the basics without feeling overwhelmed. Miracle-Gro recommends placing your garden near home entrances for easy access, ensuring you’re more likely to tend to it regularly.
Steven Biggs views gardens as creative outlets, encouraging gardeners to experiment and personalize their spaces. His approach emphasizes tailoring your garden to meet your needs and preferences, making it a true reflection of your personality.
| Garden Type | Focus | Best For |
|---|---|---|
| Vegetable | Edible plants | Food enthusiasts |
| Ornamental | Beauty and design | Those prioritizing aesthetics |
| Mixed-Use | Functionality and beauty | Versatile gardeners |
Balancing aesthetic appeal with functional growing space is key. A well-designed garden not only looks good but also serves your needs, whether that’s growing food, creating a relaxing retreat, or both.
Understanding Your Space
To create a thriving space, start by evaluating its natural elements. Every outdoor area has unique features that influence its potential. Understanding these factors ensures your garden thrives and meets your needs.
Assessing Sunlight and Shade
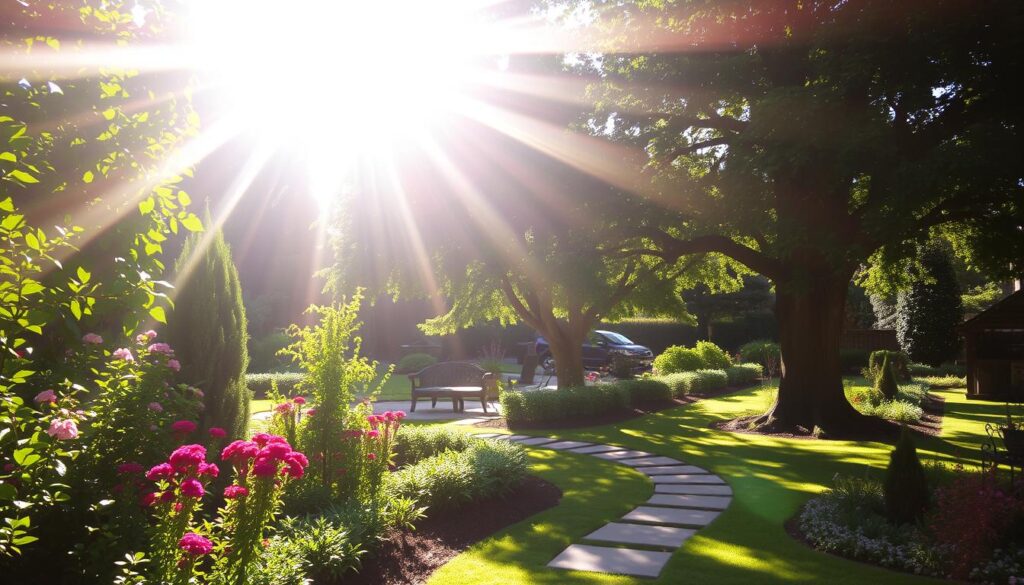
Sunlight is crucial for healthy plants. Most vegetables require 6-8 hours of direct sun daily. Use sun mapping techniques over three days to track light patterns in your space.
Identify areas with partial or full shade. Position shade-tolerant plants, like Malabar spinach, under vertical structures. Avoid planting near walnut trees, as they release toxic juglone.
Evaluating Soil Quality
Healthy soil is the foundation of a successful garden. Conduct simple tests to determine its pH and drainage. Use the jar method to check soil texture and drainage speed.
For clay soil, add compost or build raised beds to improve structure. Test pH levels using vinegar and baking soda for quick insights.
| Soil Test | Method | Purpose |
|---|---|---|
| Jar Test | Layer soil and water in a jar | Check texture and drainage |
| Vinegar/Baking Soda | Add to soil samples | Determine pH levels |
Considering Water Access
Water is essential for plant growth. Ensure your space has easy access to water sources. Install rain barrels near downspouts for water conservation.
Plan your garden layout to minimize water waste. Group plants with similar water needs together for efficient irrigation.
Planning Your Garden Layout
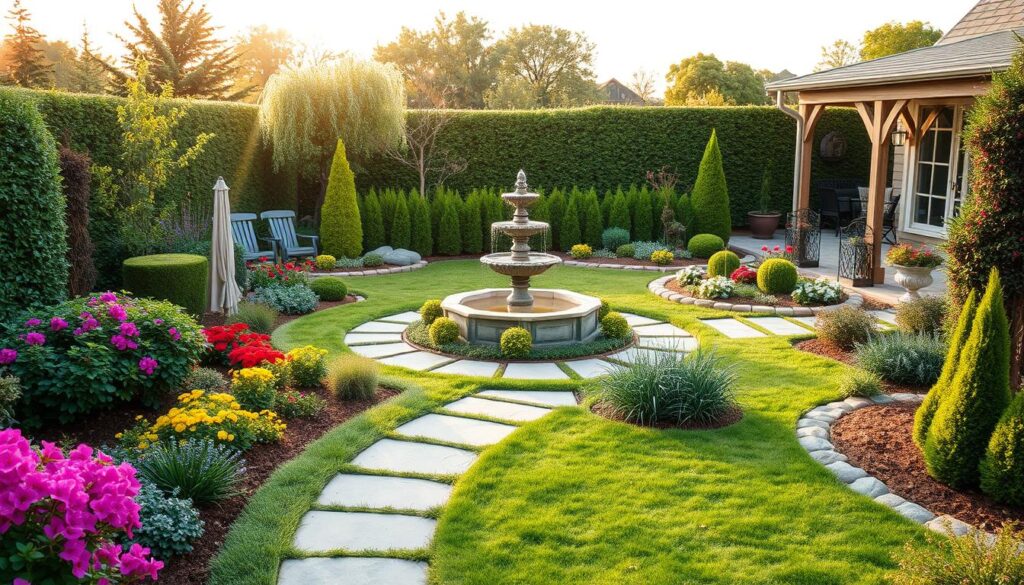
Designing an efficient outdoor area starts with a clear plan. Sketching your ideas on paper helps visualize the space and ensures every element fits seamlessly. Whether you’re working with a small plot or a larger area, a well-thought-out garden layout makes all the difference.
Sketching Your Garden on Paper
Begin by marking permanent structures like sheds, trees, or fences. These elements define the boundaries of your space. Next, outline your bed areas, keeping them 3-4 feet wide for easy access. Use color coding to differentiate between plant types, such as vegetables and flowers.
Don’t forget to include vertical elements like trellises or A-frames in your sketch. These structures maximize growing areas and add visual interest. Planning pathways at least 3 feet wide ensures smooth movement, especially for wheelbarrows.
Using Graph Paper for Precision
Graph paper is a gardener’s best friend. Using a 1:1 scale (1 foot = 1 square) ensures accuracy in your garden layout. This method helps you measure distances and allocate space effectively. Create multiple versions of your plan to compare different arrangements before finalizing.
- Mark permanent structures first for a clear framework.
- Use color coding to organize plant types visually.
- Include vertical elements to optimize growing areas.
- Plan pathways wide enough for tools and movement.
With a detailed sketch and precise measurements, your garden layout will be both functional and visually appealing. Start planning today to create a space that works for you.
Choosing the Right Plants
The success of your outdoor space depends on selecting the right plants. Whether you’re growing vegetables, flowers, or a mix of both, understanding their needs ensures a thriving area. Tailoring your choices to sunlight, size, and spacing requirements is key.
Selecting Plants Based on Sunlight
Sunlight is a critical factor for healthy growth. Most vegetables need 6-8 hours of direct sun daily. Use a sun map to track light patterns in your space. This helps identify areas with full sun, partial shade, or full shade.
Group plants with similar light needs together. For example, tomatoes and peppers thrive in full sun, while leafy greens like spinach tolerate partial shade. Creating a chart for common vegetables can simplify this process.

| Plant | Sunlight Needs |
|---|---|
| Tomatoes | Full sun (6-8 hours) |
| Spinach | Partial shade (3-4 hours) |
| Peppers | Full sun (6-8 hours) |
| Lettuce | Partial shade (3-4 hours) |
Considering Plant Size and Spacing
Plant size and spacing are equally important. Overcrowding can lead to poor growth and disease. For example, bush beans require less space than pole beans, which need vertical support.
Use staggered planting to maximize efficiency. This technique ensures quick-growing plants don’t overshadow slower ones. Dwarf varieties are ideal for small spaces, offering full-sized yields in compact forms.
- Group plants by maturity timelines for efficient use of space.
- Label plants with both common and botanical names for clarity.
- Consider vertical structures for climbing plants like beans or cucumbers.
By carefully selecting plants based on their needs, you create a balanced and productive space. Tailor your choices to your environment for the best results.
Best Layout for Garden: Raised Beds
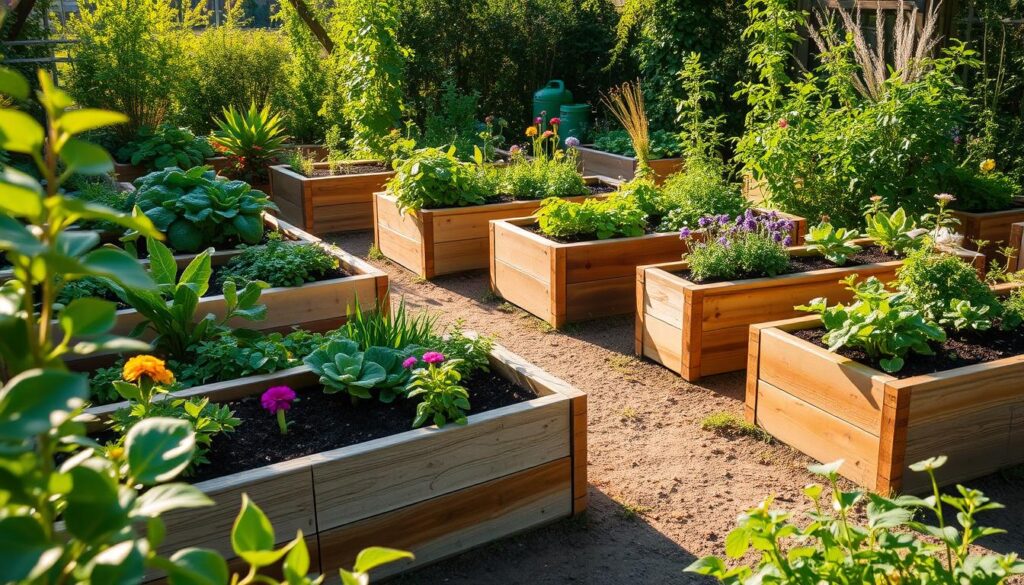
Raised beds offer a practical solution for transforming challenging spaces into thriving areas. Whether you’re dealing with poor native soil or limited space, these elevated structures can make a significant difference. They provide better drainage, improved soil quality, and easier access for planting and maintenance.
Why Choose Raised Beds?
One of the biggest advantages of raised beds is their ability to overcome poor soil conditions. Lori, a seasoned gardener, highlights how they allow you to control the soil mix, ensuring optimal growing conditions. This is especially helpful in areas with heavy clay or sandy soil.
Another benefit is their versatility. You can customize the height and size to fit your needs. For root crops like carrots, a depth of 12-18 inches is ideal. Adding trellis systems to your garden beds can also support climbing plants, maximizing vertical space.
Building Your Own Raised Beds
Constructing raised beds is simpler than you might think. Steven Biggs recommends using untreated cedar for its durability and resistance to rot. Start by assembling the frame using corner brackets for stability. This ensures easy assembly and long-lasting results.
Layering materials using the lasagna gardening method can enrich the soil. Begin with cardboard or newspaper at the base to suppress weeds, then add compost, leaves, and other organic matter. If pests like gophers are a concern, install wire mesh at the bottom of the bed before adding soil.
- Opt for untreated cedar for longevity and safety.
- Layer materials to create nutrient-rich soil.
- Install gopher wire to protect your plants.
- Use corner brackets for a sturdy and easy-to-assemble frame.
With raised beds, you can create a productive and visually appealing space right in your home. They’re a practical choice for gardeners of all skill levels, offering flexibility and improved growing conditions.
Vertical Gardening
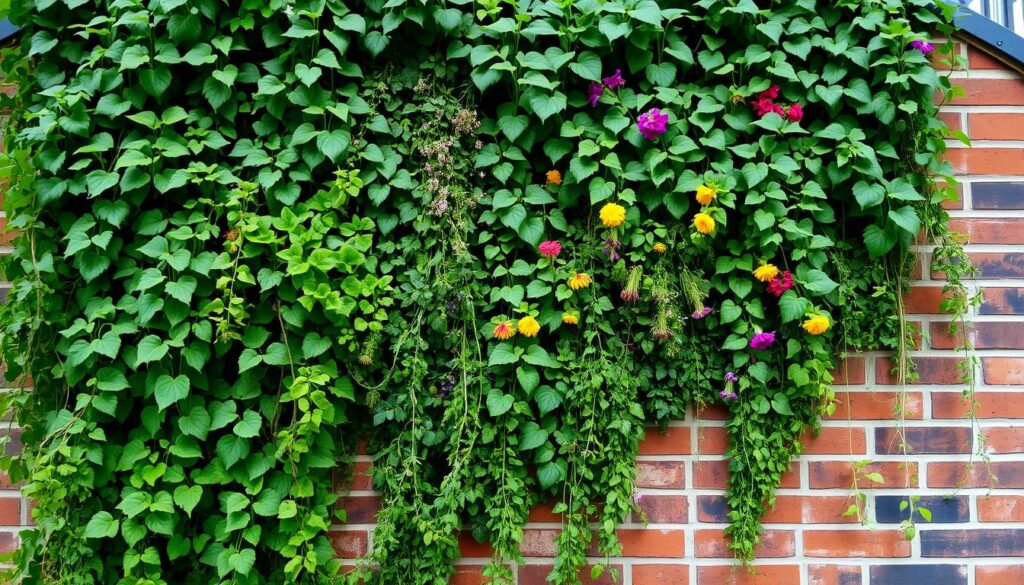
Maximizing your growing area doesn’t always mean expanding horizontally. Vertical gardening is a smart way to make the most of limited space. By growing upwards, you can transform your outdoor area into a lush, productive garden.
Using Trellises and A-Frames
Trellises and A-frames are essential tools for vertical gardening. They provide support for climbing plants like cucumbers and peas. Steven Biggs suggests pairing cucumbers on A-frames with shade-loving greens below. This way, you optimize both vertical and ground space.
Here are some tips for building your own vertical structures:
- Use PVC pipes to create modular trellis systems.
- Train indeterminate tomatoes on vertical strings for better growth.
- Install cattle panels to support heavy squashes.
Climbing Plants for Vertical Gardens
Choosing the right plants is key to a successful vertical garden. Vining peas, for example, increase yield per square foot. Other great options include beans, cucumbers, and even ornamental flowers.
Consider these creative ideas:
- Create living walls with strawberry pockets for a unique look.
- Combine edible vines with ornamental flowers for a visually appealing design.
Vertical gardening is a practical and beautiful way to enhance your outdoor area. With the right tools and plants, you can grow more in less space.
Companion Planting
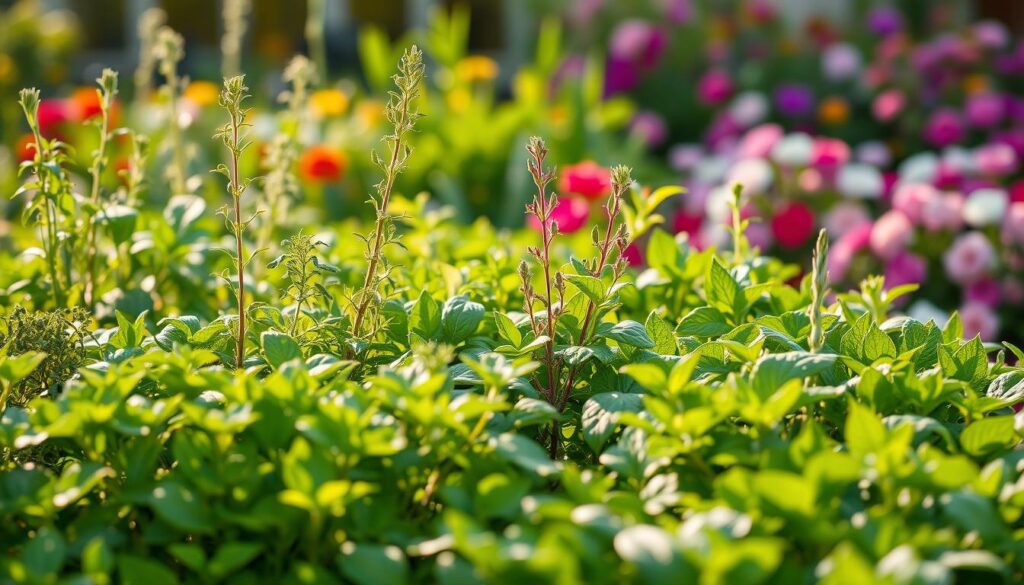
Companion planting is a time-tested method to enhance your outdoor area’s productivity and health. By pairing specific plants together, you can create a thriving ecosystem that benefits all crops. This technique not only maximizes space but also helps deter pests and improve soil quality.
Benefits of Companion Planting
One of the main advantages of companion planting is its ability to save space. For example, Steven Biggs highlights how radishes and carrots can be grown together. Radishes grow quickly and are harvested before carrots need more room. This pairing ensures efficient use of your garden area.
Another benefit is pest control. Marigolds, as recommended by Miracle-Gro, deter nematodes and other harmful insects. Planting them alongside your vegetables creates a natural barrier, reducing the need for chemical treatments.
Best Plant Combinations
Choosing the right plant pairings is key to success. Here are some effective combinations to try:
- Three Sisters: Plant corn, beans, and squash together. Corn provides support for beans, beans fix nitrogen in the soil, and squash shades the ground to retain moisture.
- Basil and Tomatoes: Basil acts as a natural pest repellent for tomatoes, protecting them from insects.
- Lettuce and Sunflowers: Tall sunflowers provide shade for lettuce, which thrives in cooler conditions.
However, avoid incompatible pairs like beans and onions, as they can hinder each other’s growth. Additionally, planting yarrow can attract beneficial insects, creating a healthier garden environment.
Succession Planting
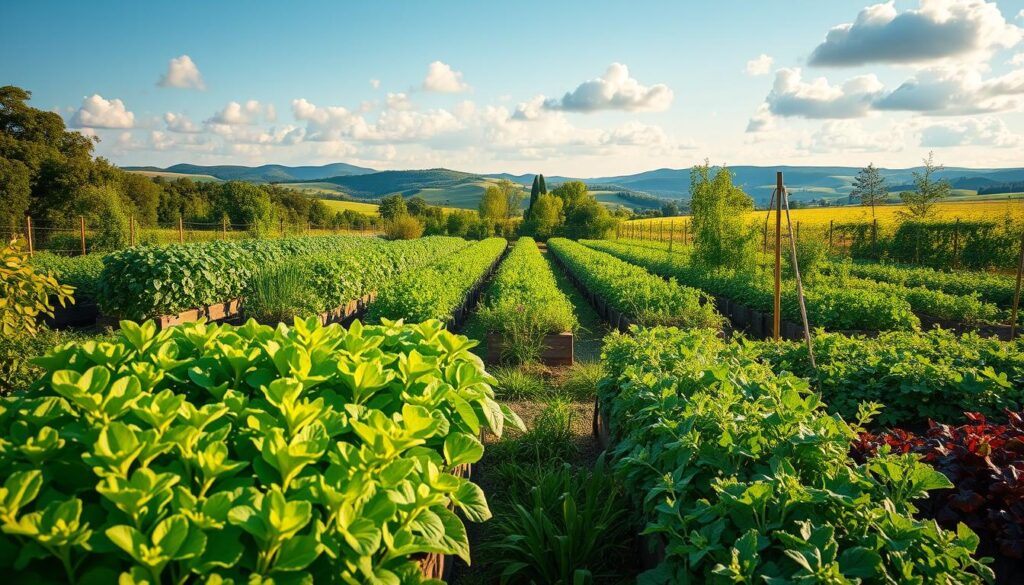
Succession planting is a smart way to keep your outdoor space productive all year. By strategically timing your plantings, you can maximize your growing area and enjoy continuous harvests. This method ensures that as one crop finishes, another is ready to take its place, making the most of your time and resources.
Planning for Succession Crops
To get started, create a planting calendar that includes maturity dates for each crop. This helps you plan what to plant next. For example, after harvesting garlic, you can follow it with rapini, as suggested by Steven Biggs. Quick-growing radishes can be planted between slower crops to make efficient use of space.
Rotating heavy feeders with soil builders is another key strategy. This practice maintains soil health and prevents nutrient depletion. Preserving garden maps for crop rotation tracking ensures you don’t plant the same family of crops in the same spot year after year.
Examples of Succession Planting
Here are some effective examples to inspire your planting schedule:
- Summer Beans to Fall Beets: After harvesting summer beans, plant fall beets in the same space. This rotation keeps your garden productive throughout the season.
- Cut-and-Come-Again Greens: Leafy greens like lettuce and spinach can be harvested multiple times, providing continuous yields.
- Quick Radishes: Use radishes as a filler crop between slower-growing plants to maximize space.
By implementing these techniques, you can ensure your garden remains vibrant and productive all year long. Succession planting is a practical approach to making the most of your growing space and time.
Minimizing Pathways
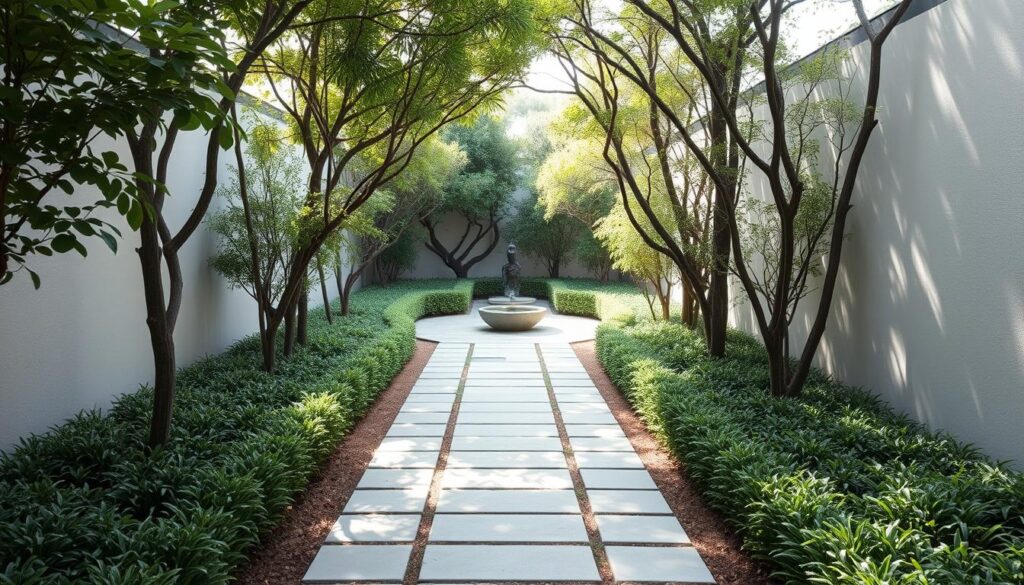
Efficient use of pathways can transform your outdoor area into a more functional and visually appealing space. By reducing unnecessary walkways, you can dedicate more space to planting beds and greenery. This approach not only maximizes your growing area but also enhances the overall garden layout.
Designing Efficient Pathways
Steven Biggs suggests using keyhole designs to save space while maintaining accessibility. This way, you can reach all areas of your beds without wasting valuable ground. Lori recommends keeping pathways at least 3 feet wide to allow wheelbarrow access, ensuring ease of movement.
Here are some practical tips for pathway design:
- Install stepping stones through planting beds for a natural look.
- Use mulch pathways to suppress weeds and retain moisture.
- Create circular herb garden patterns for both beauty and functionality.
Using Dead-End Pathways
Dead-end pathways can be a smart way to minimize wasted space. These pathways lead to specific areas, such as a compost bin or a seating nook, without cutting through the entire garden layout. They’re especially useful in smaller areas where every square foot counts.
Consider these creative ideas:
- Implement spiral gardens for vertical interest and efficient use of space.
- Use movable boards as temporary walkways during planting or harvesting seasons.
By thoughtfully designing your pathways, you can create a garden that’s both beautiful and practical. Focus on maximizing your growing area while ensuring easy access to all parts of your outdoor space.
Incorporating Containers
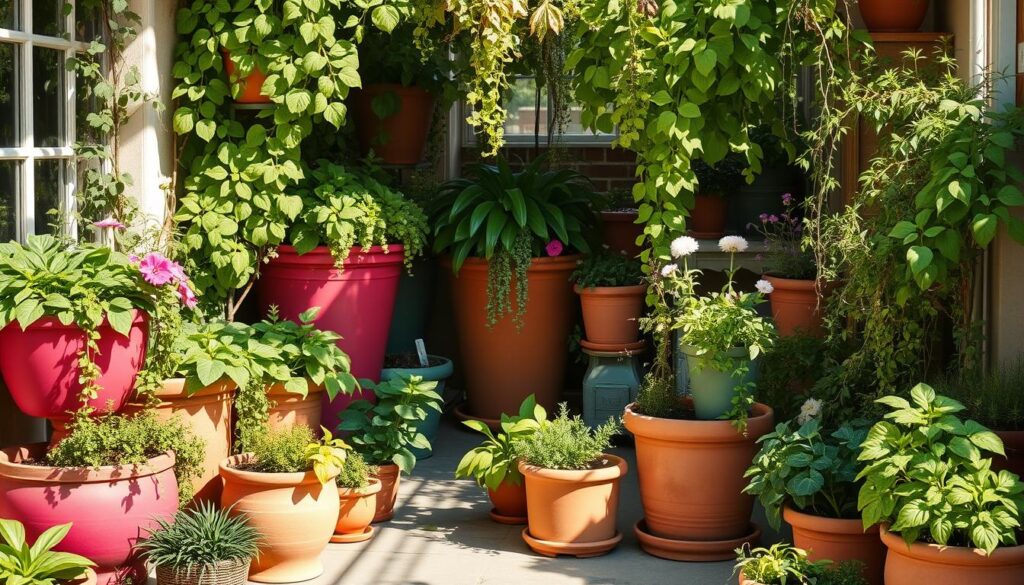
Containers offer a versatile way to enhance your outdoor area. Whether you’re working with limited space or looking to add a creative touch, container gardening can transform your design. From driveways to patios, these portable plants bring flexibility and charm to any setting.
Using Containers for Flexibility
One of the biggest advantages of container gardening is its adaptability. Steven Biggs suggests using containers for driveway tomato gardens, making it easy to grow fresh produce even in unconventional spaces. Straw bale gardening is another innovative alternative, offering a sustainable way to cultivate plants without traditional beds.
Here are some creative ideas to maximize your container space:
- Use self-watering containers to keep your plants hydrated during vacations.
- Repurpose old bathtubs as herb gardens for a unique and functional touch.
- Create mobile gardens on casters to move your plants based on sunlight needs.
Best Plants for Container Gardening
Not all plants thrive in containers, but many are perfectly suited for this method. Ornamental peppers, for example, pair beautifully with flowers, adding color and texture to your garden. Tiered container displays can also elevate your design, creating a visually appealing focal point.
Consider these options for your container space:
- Tomatoes, especially dwarf varieties, are ideal for containers.
- Herbs like basil and thyme grow well in compact spaces.
- Leafy greens such as lettuce and spinach are perfect for quick harvests.
With the right approach, container gardening can turn any area into a thriving and beautiful garden.
Seasonal Considerations
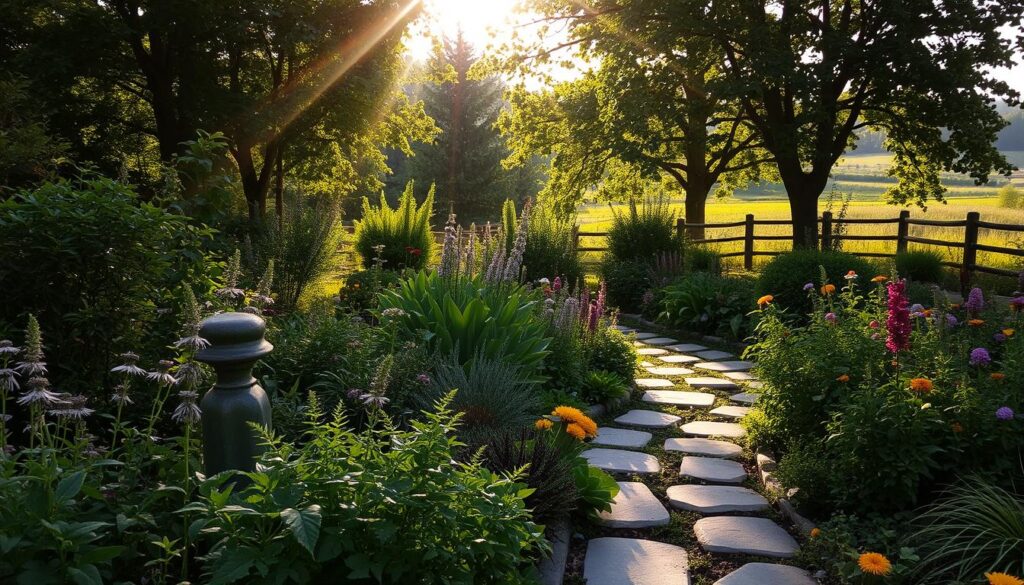
Adapting your outdoor area to the changing seasons ensures year-round productivity and beauty. Each season brings unique challenges and opportunities, making it essential to plan ahead. Whether it’s protecting your plants from frost or preparing for spring blooms, thoughtful preparation keeps your garden thriving.
Planning for Different Seasons
To maximize your outdoor space, consider the needs of each season. Steven Biggs recommends using cold frames for winter harvests, extending the growing period even in colder months. Rotating plants annually, as suggested by Miracle-Gro, helps maintain soil health and prevent nutrient depletion.
Here are some practical tips for year-round success:
- Plant cover crops like winter rye to enrich the soil during colder months.
- Use hoop houses to protect plants from frost and extend the growing season.
- Create edible winter landscapes with hardy greens like kale and spinach.
Adapting Your Layout for Winter
Winter requires special attention to keep your outdoor area productive. Store container plants in unheated garages to protect them from freezing temperatures. Plan bulb plantings through fall leaves, ensuring a vibrant display when spring arrives.
Consider these strategies for winter preparation:
- Install cold frames to shield delicate plants from harsh weather.
- Use mulch to insulate the soil and protect roots from frost.
- Rotate crops to ensure soil nutrients are replenished for the next growing year.
By planning for seasonal changes, you can create a resilient and productive outdoor space that thrives throughout the year.
Conclusion
Building a productive garden is a rewarding journey that starts with small steps. By incorporating techniques like vertical growth and succession planting, you can maximize your space and enjoy continuous harvests. Remember, changes don’t need to happen all at once—gradual adjustments often yield the best results.
Keeping a journal can help track your progress and refine your layout over time. Note what works and what doesn’t, and don’t be afraid to experiment. Gardening is as much about the process as it is about the outcome.
Finally, take time to enjoy the creative process. Share your harvests with neighbors or friends to spread the joy of fresh, homegrown plants. Your garden is a reflection of your effort and passion, so make it uniquely yours.

