Are you tired of spending hours maintaining a yard that demands water, chemicals, and endless effort? You’re not alone. Across the U.S., over 40 million acres of grass require excessive resources, contributing to environmental strain. Lawns produce four times more carbon than they absorb, making them less eco-friendly than you might think.
Transforming your space into a sustainable haven is easier than you imagine. By replacing water-intensive grass with a vibrant, eco-friendly setup, you can reduce water bills, support pollinators, and cut down on maintenance time. According to USDA data, traditional irrigation methods waste gallons of water annually, while sustainable alternatives conserve resources and beautify your home.
This growing trend isn’t just about saving the planet—it’s about creating a personalized retreat that reflects your style. Imagine saying goodbye to your lawnmower and hello to a space filled with life and creativity. Ready to take the first step? Keep reading for actionable tips to get started.
Key Takeaways
- Lawns consume excessive water and chemicals, harming the environment.
- Eco-friendly spaces reduce water bills and maintenance time.
- Support pollinators by creating a sustainable yard.
- USDA statistics highlight the inefficiency of traditional irrigation.
- Personalize your space while contributing to a greener planet.
Why Convert Your Lawn into a Garden?
What if your outdoor area could be both beautiful and eco-friendly? Traditional lawns demand significant resources, from water to chemicals, which harm the environment. Homeowners use 10 times more chemicals per acre than farmers, and 30% of urban freshwater is dedicated to maintaining these spaces.
Switching to a sustainable setup offers numerous benefits. Native plant gardens reduce the carbon footprint by absorbing more CO2 than grass. They also eliminate the need for herbicides and pesticides, creating a healthier environment for your family and local wildlife.
Financially, the savings are substantial. On average, lawn care costs around $300 annually, while maintaining a garden can be as low as $50. Plus, growing your own produce encourages outdoor activity and provides fresh, healthy food right at your doorstep.
Beyond personal benefits, ornamental gardens can increase property value by up to 15%, according to NAR studies. This makes the switch not just environmentally and economically smart but also a wise investment in your home.
By transforming your space, you’re not just creating a beautiful retreat—you’re contributing to a greener planet. It’s a win-win for you and the environment.
Planning Your Garden in Lawn
Ready to create a stunning outdoor retreat that’s both functional and eco-friendly? The first step is thoughtful planning. Whether you’re dreaming of a cozy cottage-style setup or a sleek modern design, choosing the right type and location ensures success.
Choosing the Right Type of Garden
There are countless styles to consider for your new garden. A cottage garden offers charm with its mix of flowers and herbs, while a modern design focuses on clean lines and minimalism. For water-conscious homeowners, a xeriscape uses drought-tolerant plants to reduce water usage.
Hydrozoning is another smart strategy. Group plants with similar water needs together to maximize efficiency. This approach not only saves resources but also makes maintenance easier.
Selecting the Perfect Location
Location is key to a thriving setup. Most vegetables and flowers need 6-8 hours of sunlight daily. Use free apps like Sun Seeker to map sunlight patterns in your yard.
Start small with a 100-200 square foot area if you’re a beginner. This allows you to manage your space effectively and expand later. Consider proximity to a water source, pet zones, and HOA rules when planning your garden space.
Raised garden beds are a great option for beginners. They improve drainage, reduce weeds, and make planting easier. Whether you choose in-ground or raised bed setups, proper planning ensures a beautiful and sustainable outdoor area.
Removing Grass: Step-by-Step Methods
Ready to transform your space into something more sustainable and beautiful? The first step is removing the existing grass. Whether you’re planning to create raised beds or a lush new setup, there are several methods to remove grass effectively. Each approach has its pros and cons, so let’s explore your options.
Manual Removal
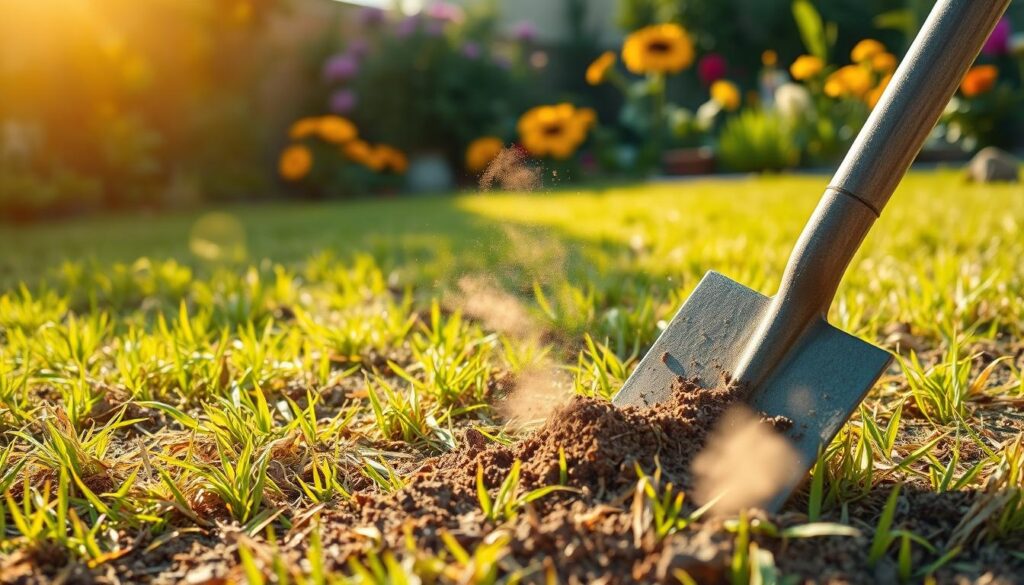
Manual removal is the most cost-effective way to turn lawn into a blank canvas. All you need is a shovel, gloves, and some elbow grease. Start by cutting the grass into small sections, then dig under the roots to lift the sod. While this method is free, it’s labor-intensive and may take several days for larger areas.
Pro Tip: Avoid turning the sod over, as this can lead to a 75% regrowth rate. Instead, compost the removed grass or repurpose it elsewhere.
Using Power Tools
For faster results, consider renting a sod cutter. This power tool slices through grass and roots, making it easy to roll up and remove large sections. Rental costs average $75 per day, but the time saved is worth it for larger projects. Always call 811 before digging to check for underground utilities.
Safety Tip: Wear protective gear, including gloves and goggles, when operating a sod cutter.
Smothering and Solarizing
If you’re not in a rush, smothering or solarizing are eco-friendly options. Smothering involves layering cardboard, newspaper, or coffee grounds over the grass to block sunlight and decompose it. This method takes about six months but is great for weed suppression.
Solarization uses a clear tarp to trap heat and kill grass over 4-12 weeks. Anchor the tarp securely and ensure it covers the entire area. This method also sterilizes the soil, reducing weed seeds and pests.
| Method | Cost | Effort | Time |
|---|---|---|---|
| Manual Removal | $0 | High | 1-3 days |
| Sod Cutter | $75/day | Medium | Few hours |
| Smothering | $10-$20 | Low | 6 months |
| Solarization | $20-$50 | Low | 4-12 weeks |
“The key to successful grass removal is patience and the right method for your needs.”
By choosing the best approach for your project, you’ll be one step closer to creating a thriving, sustainable space. Whether you opt for manual labor, power tools, or eco-friendly techniques, the result will be worth the effort.
Preparing the Soil for Your Garden
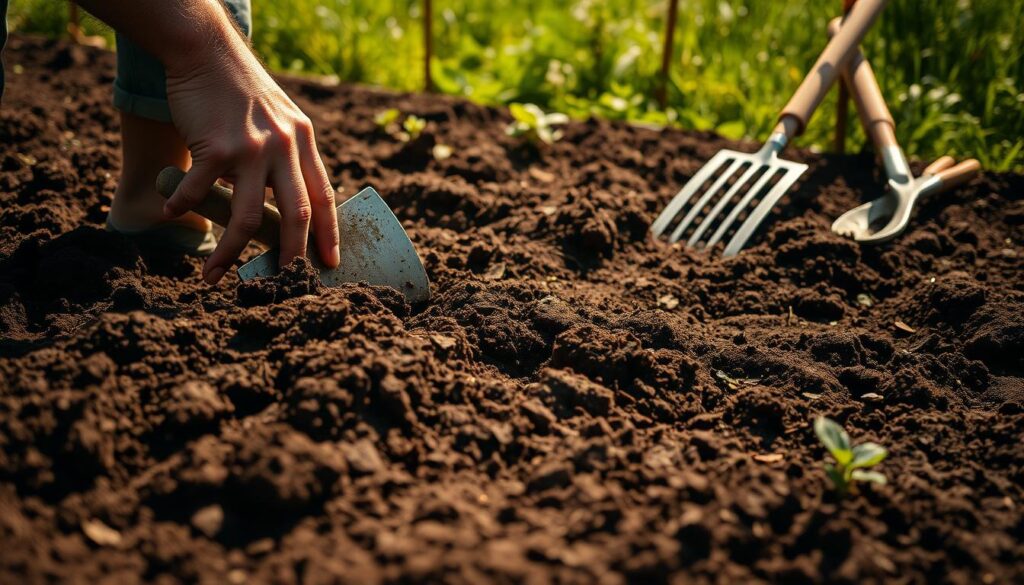
Healthy soil is the foundation of a thriving outdoor space. Without proper preparation, even the best plants can struggle to grow. Testing and amending your soil ensures it provides the nutrients and structure your plants need to flourish.
Testing Your Soil
Start by understanding your soil’s composition. DIY test kits are affordable and easy to use, providing quick insights into pH levels and nutrient content. For more detailed results, consider a professional lab analysis, which typically costs around $15.
Most plants thrive in soil with a pH between 6.0 and 7.0. If your soil is too acidic or alkaline, amendments can help balance it. Regional differences also play a role—Southwestern soils tend to be alkaline, while Southeastern soils are often acidic.
Amending the Soil
Once you know your soil’s needs, it’s time to enrich it. Biochar improves drainage, while worm castings add essential nutrients. Compost is another excellent option, especially for clay-heavy soil. Use a 5:1 ratio of compost to soil for best results.
Avoid combining sand with clay, as this can create a concrete-like texture. Instead, focus on organic matter to improve soil structure. For winter preparation, consider planting cover crops like crimson clover to protect and nourish the soil.
“Healthy soil is the key to a successful garden. Invest time in testing and amending it, and your plants will thank you.”
By taking these steps, you’ll create a nutrient-rich environment that supports robust plant growth. Whether you’re working with a raised bed or an in-ground setup, proper soil preparation sets the stage for a thriving outdoor space.
Choosing the Right Plants for Your Garden
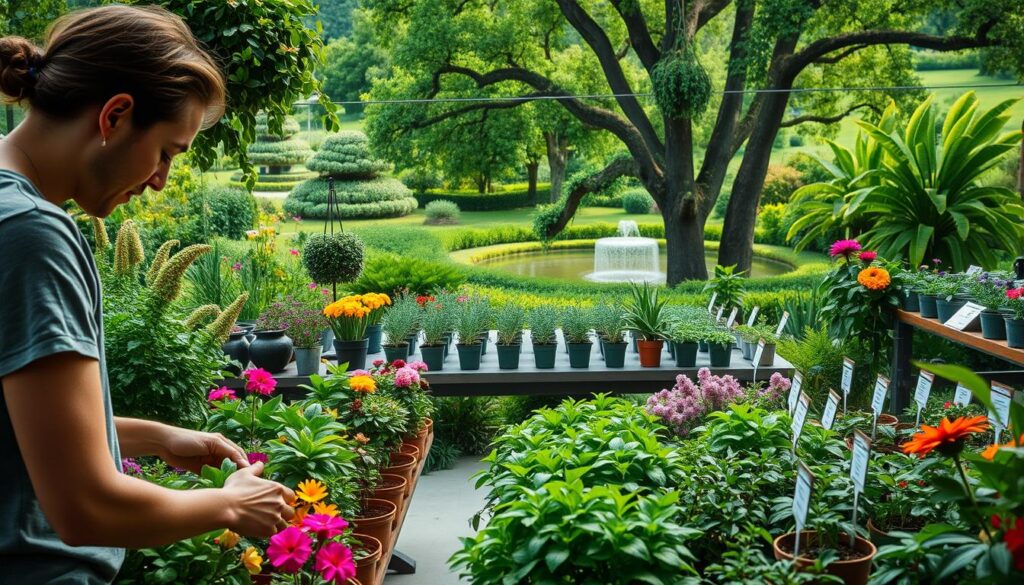
Discover how selecting the right plants can transform your outdoor space into a vibrant ecosystem. Whether you’re creating a raised garden or a vegetable garden, the plants you choose play a crucial role in its success. From supporting pollinators to ensuring year-round beauty, your choices matter.
Annuals vs. Perennials
Understanding the difference between annuals and perennials is essential. Annuals, like marigolds and zinnias, complete their life cycle in one season. They’re perfect for adding quick bursts of color to your flowers beds. Perennials, such as lavender and coneflowers, return year after year, offering long-term value.
While annuals are often cheaper upfront, perennials save money over time. For example, seeds cost as little as $0.10 each, while nursery plants range from $3 to $15. Consider mixing both types for a balanced and dynamic setup.
Plant Selection Tips
When choosing plants, think about their purpose. Native species like agastache and echinacea are deer-resistant and thrive in local conditions. They also attract pollinators, which prefer native plants 85% of the time.
For continuous color, plan a bloom calendar. Early bloomers like crocus and late-season stars like goldenrod ensure your space stays vibrant. Pollinator magnets such as milkweed and mountain mint are excellent additions.
Don’t forget edible flowers! Nasturtiums and calendula add beauty and flavor to salads. Companion planting, like pairing basil with tomatoes, can also boost growth and deter pests.
| Plant Type | Cost | Benefits |
|---|---|---|
| Annuals | $0.10/seed | Quick color, affordable |
| Perennials | $3-$15/plant | Long-term value, low maintenance |
| Native Plants | Varies | Deer-resistant, pollinator-friendly |
“The right plants can turn your outdoor space into a thriving ecosystem that supports both beauty and biodiversity.”
By carefully selecting your plants, you’ll create a space that’s not only stunning but also sustainable. Whether you’re a beginner or an experienced gardener, these tips will help you make the most of your outdoor area.
Building and Planting Your Garden Beds
Ready to take your outdoor space to the next level with functional and beautiful beds? Whether you’re working with in-ground setups or raised garden beds, the right design can make all the difference. Let’s explore the best methods to create a thriving and organized planting area.
In-Ground Beds
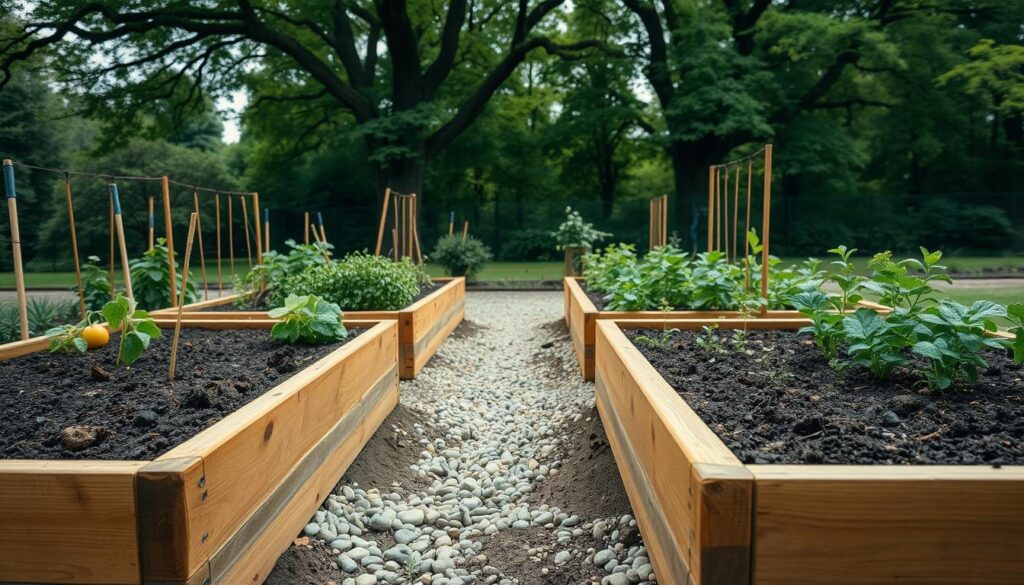
In-ground beds are a classic choice for many plant enthusiasts. One popular method is hugelkultur, which uses logs, branches, and organic matter to create a nutrient-rich base. This approach improves soil fertility and retains moisture, making it ideal for sustainable setups.
For those on a budget, DIY cinder block beds are a cost-effective option, starting at just $25. These are durable and easy to assemble, perfect for beginners. If you’re looking for a more polished look, premium kits can cost up to $300 but offer added convenience and design flexibility.
Raised Garden Beds
Raised garden beds are a favorite for their versatility and ease of use. The ideal height for root vegetables is 18 inches, ensuring ample space for growth. Materials like cedar and composite are popular choices, with cedar lasting up to 20 years and composite offering low maintenance.
Accessibility is another advantage. Designs with a 30-inch height are wheelchair-friendly, making gardening inclusive for everyone. When it comes to soil, the Coast of Maine blend is highly recommended for its nutrient-rich composition.
“Raised beds not only improve drainage and reduce weeds but also make gardening more accessible and enjoyable.”
For efficient planting, consider the square foot gardening method. This spacing guide maximizes yield by organizing plants into one-foot sections. It’s perfect for small spaces and ensures every inch of your bed is utilized effectively.
Whether you choose in-ground or raised garden beds, the key is to plan carefully and select the right materials. With these tips, you’ll create a thriving and sustainable setup that enhances your outdoor space. For more beginner-friendly tips, check out this guide on gardening for beginners.
Conclusion: Enjoying Your Thriving Garden
Transforming your outdoor area into a sustainable retreat is a rewarding journey. Start small by converting 10% of your space each year. This phased approach makes the process manageable and allows you to learn as you go.
Get involved in your community by joining local seed swap programs. These events are a great way to share resources and connect with fellow enthusiasts. Consider certifying your space through the National Wildlife Federation to create a habitat that supports local wildlife.
Seasonal maintenance is key to keeping your setup thriving. Regularly check for pests, prune plants, and refresh the soil as needed. For more tips, explore this beginner’s guide to make the most of your efforts.
Finally, celebrate your progress! Share photos of your first harvest online and inspire others to join the movement. Together, we can create a greener, more sustainable future.
