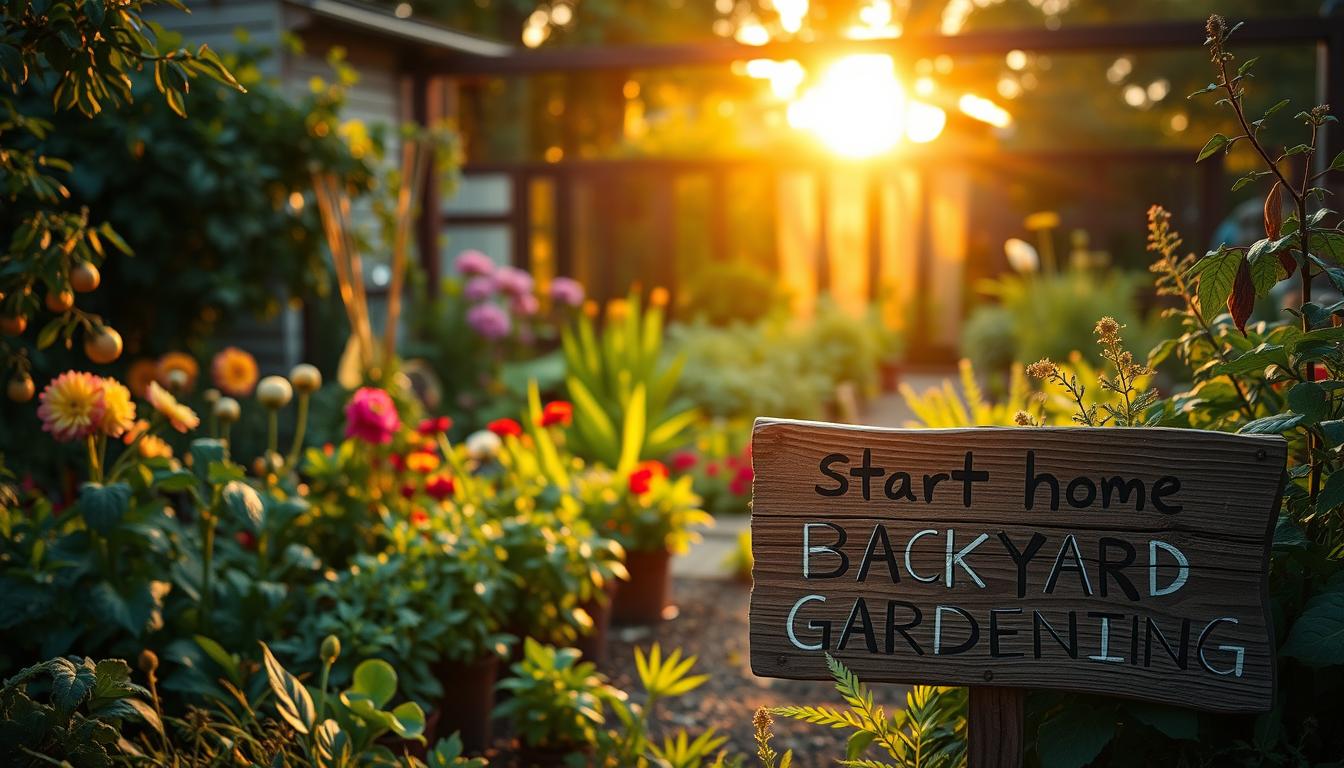
Are you ready to grow your own fresh, organic produce? Starting a garden might seem overwhelming, but with the right guide, it’s simpler than you think. Whether you’re a first-timer or looking to refine your skills, this 11-step framework is designed to help you succeed.
Gardening offers more than just tasty vegetables. It’s a chance to save money, bond with family, and enjoy the outdoors. Plus, with proper planning, you’ll see results without unnecessary stress.
Many beginners make mistakes like choosing the wrong plants or setting up their space poorly. But don’t worry—this guide will help you avoid those pitfalls. Whether you prefer raised beds or in-ground planting, we’ve got you covered.
Key Takeaways
- Follow an 11-step framework for a successful start.
- Enjoy fresh, organic produce right from your garden.
- Save money while growing your own food.
- Bond with family through a shared activity.
- Avoid common beginner mistakes with expert tips.
Why Start a Home Backyard Garden?
Growing your own food can transform your lifestyle in surprising ways. A vegetable garden not only provides fresh produce but also offers financial, environmental, and health benefits. With just 500 square feet, you can grow enough food to feed a family of four—with plenty to spare.
One of the biggest advantages is cost savings. Homegrown veggies cost about a quarter of store prices, potentially reducing your annual grocery bill by $600. Plus, you’ll enjoy fresher, tastier meals straight from your garden.
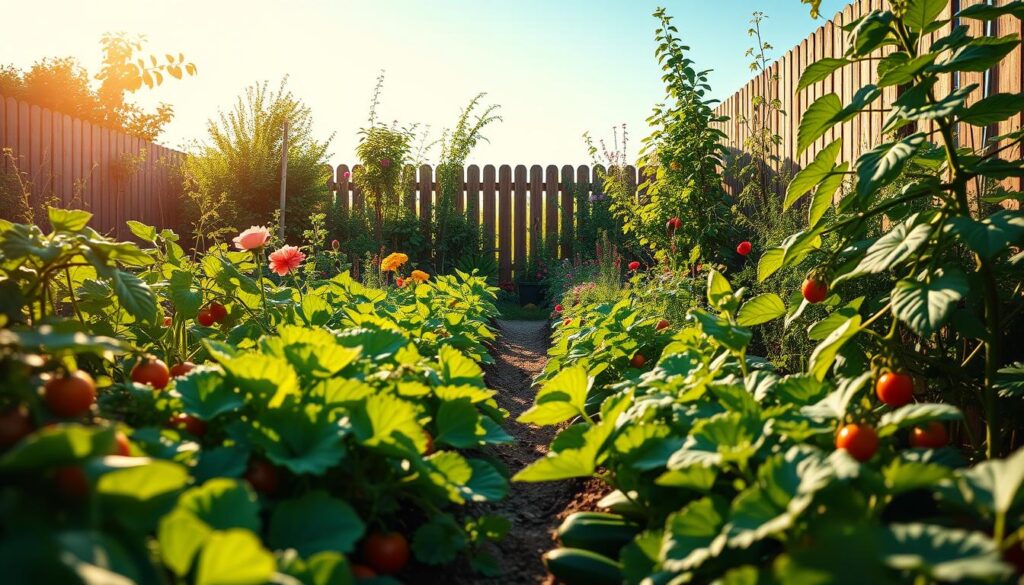
Starting a garden also helps the planet. Growing your own food reduces the carbon footprint of transportation by 95%. For example, one pound of homegrown vegetables produces just 0.07 pounds of CO2, compared to 1.1 pounds for store-bought produce.
Health benefits are another major perk. Homegrown produce has up to 40% higher nutrient density than store-bought options. It’s a great way to ensure your family eats healthier and gets the vitamins they need.
Gardening is also an excellent activity for families. Studies show that 68% of kids eat more vegetables when they help grow them. It’s a fun, educational way to teach children about nature and healthy eating.
Finally, gardening is a natural stress reliever. Just 30 minutes of tending to your plants can lower cortisol levels as effectively as yoga. It’s a peaceful, rewarding way to unwind and connect with nature.
- Save money with fresh, homegrown produce.
- Reduce your environmental impact significantly.
- Enjoy healthier, nutrient-rich food.
- Teach kids valuable lessons about nature.
- Relax and reduce stress through gardening.
Step 1: Choose the Perfect Location
The success of your garden starts with choosing the ideal location. The right spot ensures your plants get the resources they need to thrive. Pay attention to sunlight, water access, and other factors that can impact growth.
Sunlight and Shade Considerations
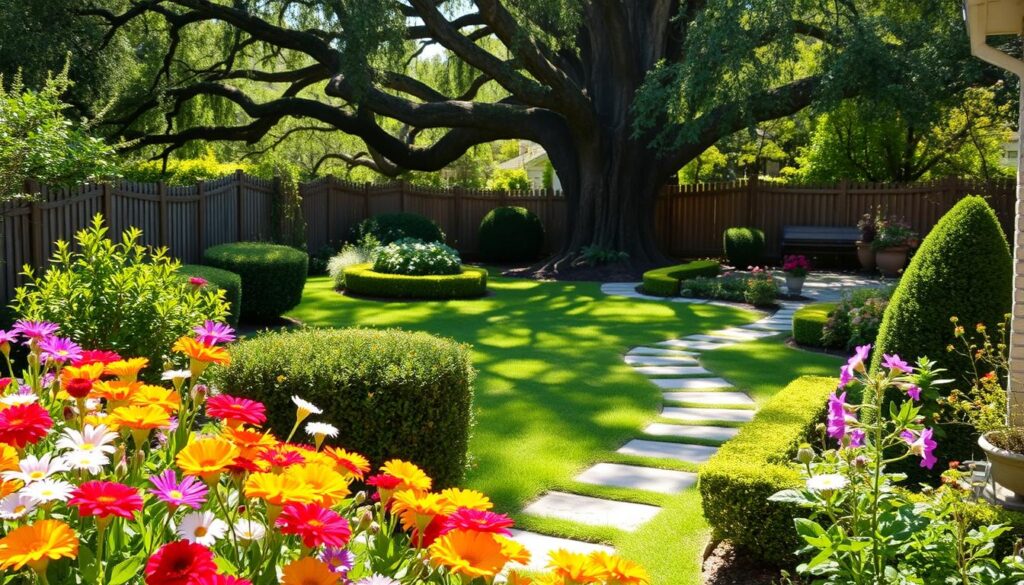
Plants need at least five hours of direct sunlight daily. Use a sunlight calculator app to track shadows at 9 AM, noon, and 3 PM for three consecutive days. This helps you find the sunniest area in your yard.
Keep a 10-foot buffer from tree drip lines to avoid shade issues. Plan for tree growth over the next 5-10 years to future-proof your garden’s sunlight exposure.
Proximity to Water Sources
Your garden should be within 25 feet of a water spigot for easy access. Consider placing a rain barrel nearby to save water and reduce costs. Shrubs can act as natural windbreaks, cutting evaporation by 15%.
If your space has a slope, aim for a maximum 2% grade. Build terraces with reclaimed wood to create a flat planting surface.
Step 2: Plan Your Garden Layout
Designing your garden setup can make all the difference in your success. A thoughtful garden layout ensures your plants thrive while making maintenance easier. Start by deciding between raised beds and in-ground options, then consider the size and shape of your space.
Raised Beds vs. In-Ground Beds
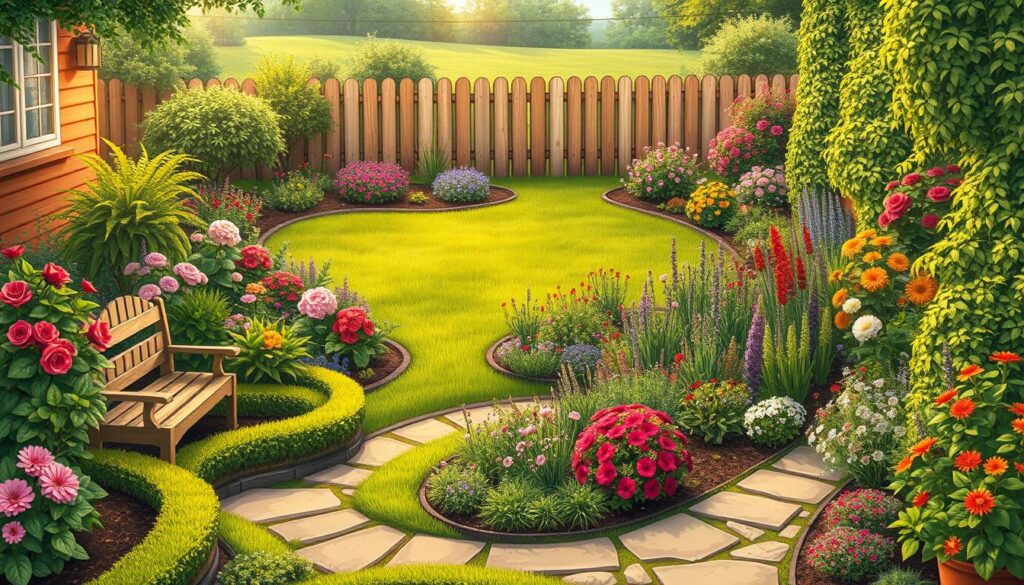
Raised beds offer several advantages, especially in colder climates. They warm up 2-3 weeks earlier than in-ground garden beds, giving your plants a head start. They also improve drainage and reduce soil compaction. However, they come with higher material costs—about $120 for a 4×8 cedar bed compared to $35 for in-ground setups.
In-ground beds are more budget-friendly and blend seamlessly into your landscape. They’re ideal for larger spaces and crops with deep roots. Consider your climate, budget, and maintenance preferences when choosing the best way to grow.
Garden Size and Shape
When planning your garden layout, keep accessibility in mind. Beds should be no wider than 4 feet to allow easy reach from both sides. Pathways between beds should be 21-24 inches wide for comfortable movement.
For smaller spaces, vertical integration is a game-changer. Adding trellises for beans or cucumbers can save up to 65% of your planting area. In arid climates, sunken beds 12 inches deep improve water retention.
Shape also plays a role in perception. Curved beds can make your garden feel 40% larger, creating a more inviting space. Whether you choose straight lines or flowing curves, ensure your design complements your space and needs.
Step 3: Prepare the Soil
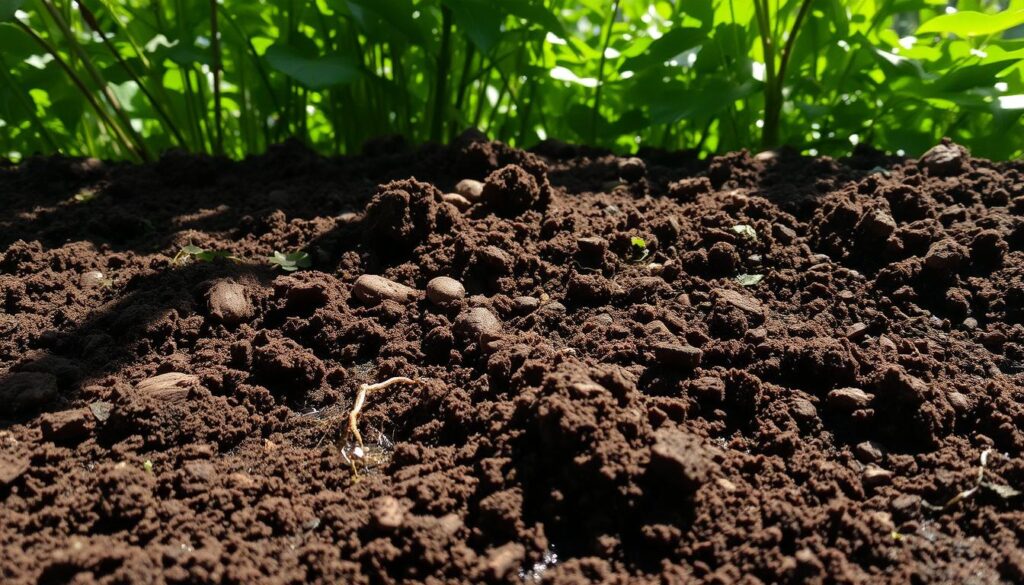
Healthy plants start with healthy soil, and preparing it properly is key. The right foundation ensures your plants get the nutrients they need to thrive. Begin by testing your soil’s pH and adding organic matter to improve its quality.
Testing Soil pH
Your soil’s pH level affects how well plants absorb nutrients. A simple DIY test uses baking soda and vinegar. If the soil fizzes with vinegar, it’s alkaline (pH 7.5+). If it reacts with baking soda, it’s acidic. Natural indicators like dandelions suggest alkaline soil, while moss points to acidity.
For a more accurate reading, use a soil test kit. Aim for a pH between 6.0 and 7.0 for most vegetables. Adjusting pH can take time, so start early in the season.
Adding Organic Matter
Enriching your garden soil with organic materials boosts its fertility. Compost is a great option—it improves structure and adds nutrients. Spread 3 pounds of compost per square foot for depleted soils, mixing it 6 inches deep.
Other amendments like glacial rock dust add 72 trace minerals. Compost tea can increase microbial activity by 300%, promoting healthier plant growth. For no-till beds, try sheet mulching—layering organic materials like cardboard, straw, and compost.
- DIY pH test: Baking soda and vinegar reaction method.
- Worm census: 10+ worms per cubic foot indicate healthy soil.
- Amendment calculator: 3 lbs compost per sq.ft for depleted soils.
- Mineral boosts: Glacial rock dust adds 72 trace minerals.
- Sheet mulching: Lasagna layering for no-till beds.
Step 4: Select the Right Plants
Choosing the right plants is the foundation of a thriving garden. The plants you pick will determine your harvest’s success and the effort required to maintain them. Whether you’re a beginner or an experienced gardener, selecting the best options for your space is crucial.
Easy-to-Grow Vegetables for Beginners
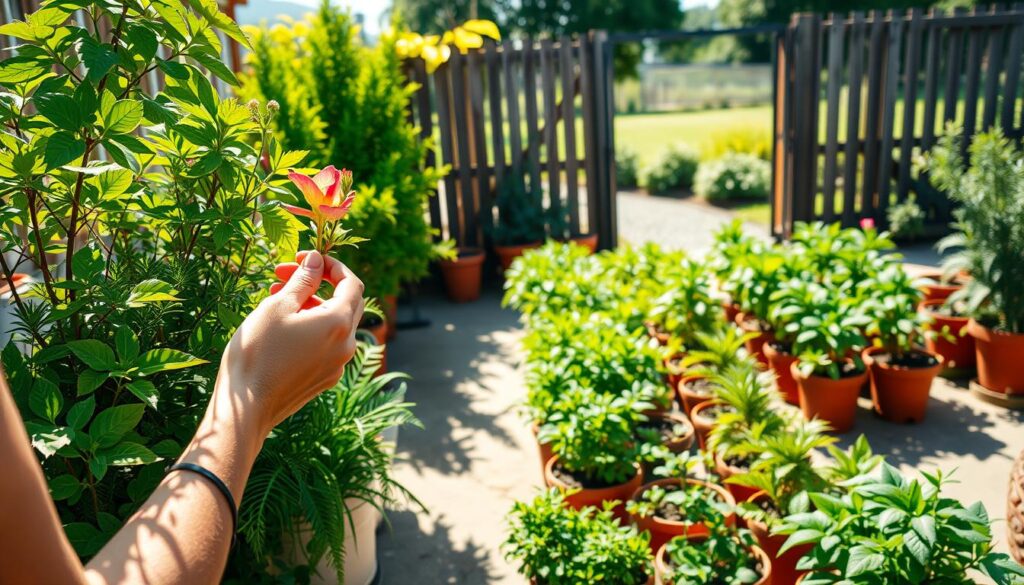
Starting with beginner-friendly vegetables can boost your confidence and ensure a successful first season. Plants like zucchini, cherry tomatoes, and bush beans are known for their resilience and high yield. Starter plants have a 97% success rate compared to seeds, making them an excellent choice for new gardeners.
Consider your local climate when selecting crops. Matching plants to your heat and hardiness zones ensures better growth and fewer issues. For example, heat-loving plants like peppers thrive in warmer regions, while cool-season crops like lettuce prefer milder temperatures.
Companion Planting Tips
Companion planting is a smart way to maximize your garden’s potential. Certain plants benefit each other when grown together. For instance, basil improves tomato flavor by 25%, while marigolds reduce harmful nematodes by 90%.
Here’s a quick guide to effective companion planting:
| Plant | Companion | Benefit |
|---|---|---|
| Tomatoes | Basil | Enhanced flavor |
| Carrots | Onions | Pest deterrence |
| Squash | Nasturtiums | Natural pest control |
By pairing the right vegetables, you can create a healthier, more productive garden. Experiment with combinations to see what works best for your space.
Step 5: Start Planting
Planting is where your garden truly comes to life. This step is all about timing, technique, and ensuring your seeds or seedlings have the best chance to thrive. Whether you’re working with warm-season crops or cool-weather varieties, getting it right makes all the difference.
When to Plant Different Vegetables
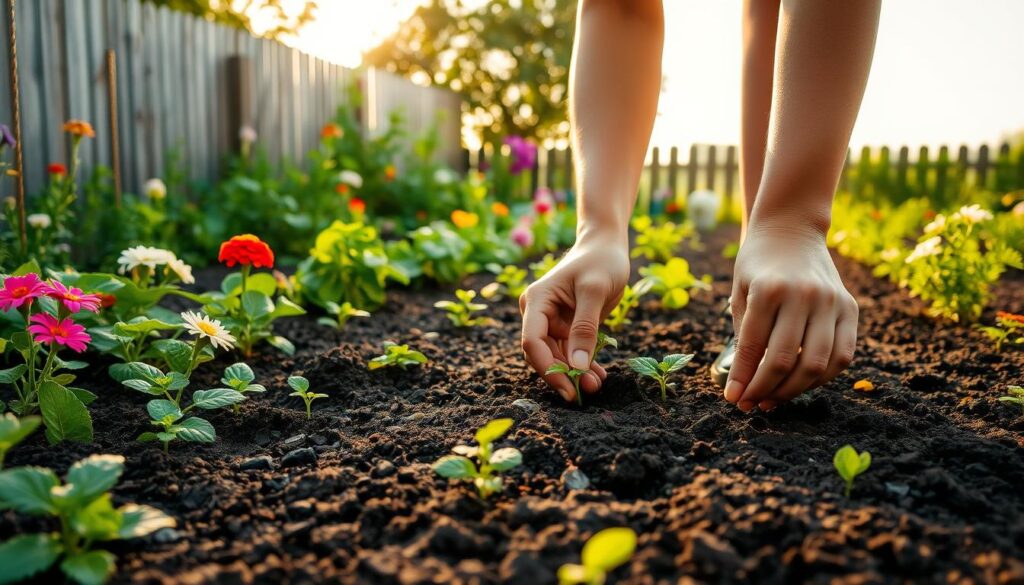
Timing is everything when it comes to planting. Warm-season crops like tomatoes and peppers need soil temperatures of at least 75°F to germinate. Cool-season vegetables, such as lettuce and spinach, prefer cooler soil and can be planted earlier in the season.
Use a planting calendar tool, like the Almanac, to determine the best time for your area. This ensures your garden gets off to a strong start. For example, planting tomatoes too early can stunt growth, while waiting too long might shorten your harvest window.
Spacing and Depth Guidelines
Proper spacing and depth are crucial for healthy plant growth. Most vegetables should be planted no deeper than 2 inches. Overcrowding can lead to competition for nutrients and sunlight, so follow these tips:
- Intensive spacing: Use square foot gardening templates to maximize space.
- Soil thermometry: Invest in a $15 digital probe for accurate soil temperature readings.
- Transplant hardening: Gradually expose seedlings to outdoor conditions over 7 days.
- Moon phase planting: Explore folklore or science-based methods for timing.
- Seed tape DIY: Use a flour-water glue hack for precise seed spacing.
By following these guidelines, you’ll set your plants up for success and enjoy a bountiful harvest.
Step 6: Watering Your Garden
Proper hydration is the key to a thriving garden. Watering your plants the right way ensures they grow strong and healthy. Whether you’re using a simple watering can or an advanced irrigation system, timing and technique matter.

Irrigation Systems
Choosing the right irrigation system can save water and time. Drip irrigation, for example, uses 50% less water than traditional methods. It delivers moisture directly to the roots, reducing evaporation and waste.
Smart controllers are another great option. These $95 WiFi timers come with soil sensors to adjust watering based on real-time needs. For a DIY approach, try ollas—terracotta pots buried in the soil that slowly release water to the roots.
Watering Schedule
Timing is crucial when it comes to watering. Morning is the best time to water your garden, as it reduces mildew by 70%. Aim for about 1 inch of water per week, adjusting based on rainfall and soil type.
Use the finger test to check moisture levels. Stick your finger into the soil up to the knuckle—if it feels dry, it’s time to water. During droughts, watch for signs of wilting. If plants wilt for three consecutive days, they need emergency watering.
- Rainwater math: Collect 0.6 gallons per square foot for every 1 inch of rain.
- Drought response: Water immediately if plants wilt for three days.
- Morning advantage: Watering early reduces disease risk.
Step 7: Mulching and Weed Control
Keeping your garden healthy and productive requires effective mulching and weed control. These steps not only protect your plants but also reduce the time and effort needed for maintenance. By choosing the right mulch and implementing natural weed prevention methods, you can create a thriving environment for your garden beds.
Types of Mulch
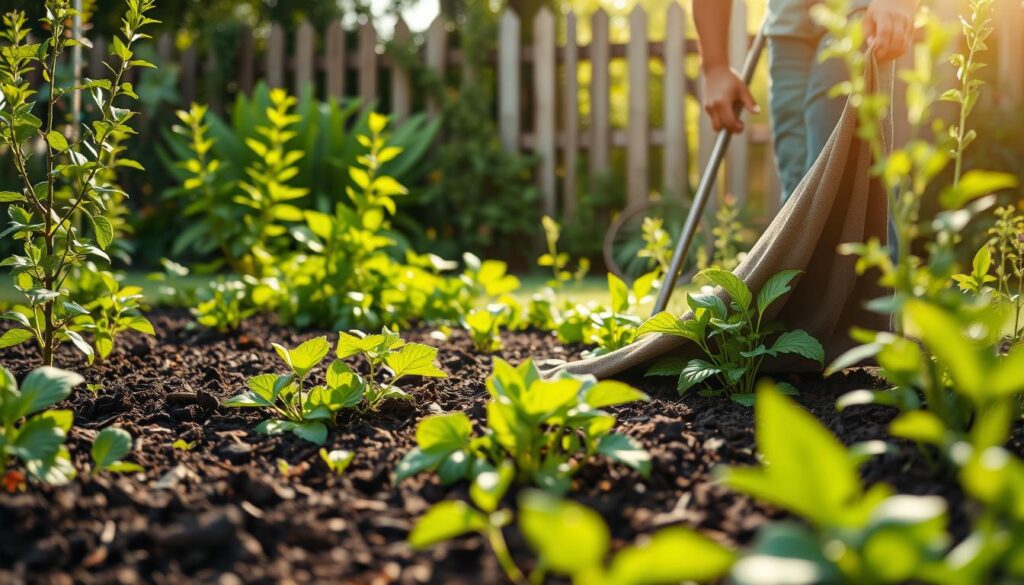
Mulch comes in various forms, each with its own benefits. Straw mulch, for example, reduces weeding by 80% and costs just $0.25 per square foot. Newspaper layers are another effective option, blocking 95% of weeds while being cost-effective.
Living mulch, such as clover or alfalfa, adds nutrients to the soil and improves its structure. For a decorative touch, bark mulch is popular but costs more at $1.50 per square foot. Choose the type that best suits your garden’s needs and budget.
Preventing Weeds Naturally
Natural weed control methods are safe and eco-friendly. Solarization, which involves covering the soil with a plastic tarp for six weeks, kills weed seeds and pests. Flame weeding uses a propane torch to eliminate weeds quickly, but always follow safety protocols.
Allelopathic plants like sunflowers release chemicals that inhibit weed growth. Edible mulch, such as strawberry groundcover, also suppresses weeds while providing a tasty harvest. Here are some additional tips:
- Use straw mulch to reduce weeding efforts significantly.
- Layer newspapers to block weeds effectively.
- Plant clover or alfalfa as living mulch for added benefits.
- Try solarization for a long-term weed-free solution.
- Experiment with allelopathic plants for natural weed control.
Step 8: Pest and Disease Management
Protecting your plants from pests and diseases is essential for a thriving garden. A proactive approach ensures healthy growth and maximizes your harvest. By using natural methods and identifying issues early, you can keep your garden in top shape.
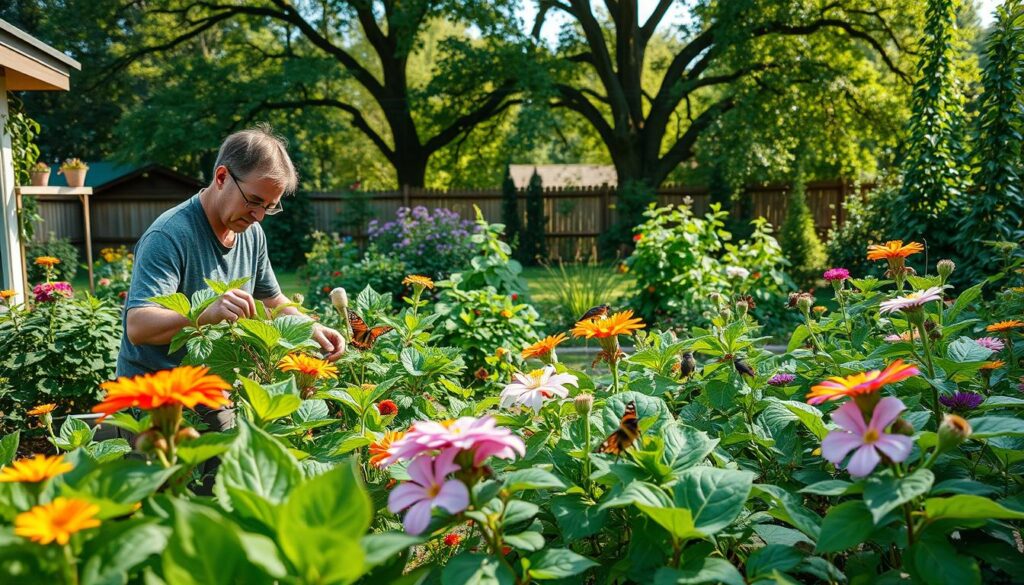
Natural Pest Control Methods
Natural pest control is a safe and effective way to protect your plants. Beer traps, for example, eliminate 85% of slugs. Neem oil disrupts over 200 pest species, making it a versatile solution. Crop rotation reduces blight by 90%, keeping your soil healthy.
Here are some additional tips for natural pest control:
- Release 1,500 ladybugs per 500 square feet to control aphids.
- Use garlic or chili spray recipes for homemade remedies.
- Install floating row covers at $1.25 per square foot to block pests.
- Plant radishes as trap crops to deter flea beetles.
Identifying Common Garden Diseases
Early detection is key to managing garden diseases. Fungal, bacterial, and viral infections can harm your plants if left unchecked. Use disease identification flowcharts to diagnose issues quickly.
Here’s a quick guide to common diseases and their symptoms:
| Disease | Type | Symptoms |
|---|---|---|
| Powdery Mildew | Fungal | White powdery spots on leaves |
| Bacterial Blight | Bacterial | Brown spots with yellow halos |
| Mosaic Virus | Viral | Mottled or distorted leaves |
By staying vigilant and using these methods, you can maintain a healthy and productive garden.
Step 9: Maintaining Your Garden
Regular maintenance is the secret to a flourishing garden. Proper care ensures your plants stay healthy and productive throughout the season. From pruning to fertilizing, these steps will help you maximize your garden’s potential.
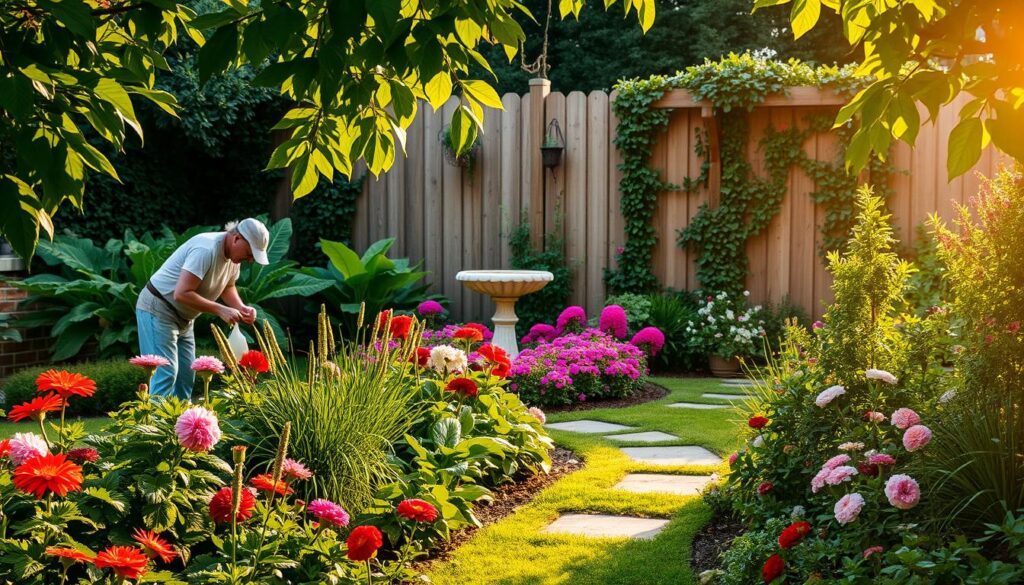
Pruning and Staking Plants
Pruning is essential for encouraging healthy growth and increasing yields. For example, tomato pruning can boost fruit production by 30%. Use sharp pruners and cut at a 45-degree angle to prevent damage.
Staking helps support taller plants and prevents them from bending or breaking. The Florida weave method is ideal for tomatoes, while single stakes work well for peppers. Both systems improve airflow and reduce disease risk.
Fertilizing Tips
Fertilizing provides the nutrients your garden needs to thrive. Compost tea is a great option, offering an NPK ratio of 2-1-2. Apply it every 14 days at dawn for the best results.
Foliar feeding is another effective method, with a 95% absorption rate. Use a balanced fertilizer and spray directly on the leaves. Soil testing every year ensures your garden gets the right nutrients.
- Train plants using the Florida weave or single stake method.
- Understand N-P-K ratios to choose the right fertilizer.
- Follow a foliar feeding schedule for optimal nutrient absorption.
- Test soil annually to monitor nutrient levels.
- Keep tools sharp for precise pruning and maintenance.
For more tips on maintaining your garden, check out this beginner’s guide. With consistent care, your garden will thrive and reward you with a bountiful harvest.
Step 10: Harvesting Your Crops
Harvesting your crops is the most rewarding part of gardening. It’s the moment when all your hard work pays off, and you get to enjoy fresh, homegrown food. But knowing the right time and way to harvest can make a big difference in flavor and nutrition.

When to Harvest Different Vegetables
Timing is everything when it comes to harvesting. Morning is the best time to pick your vegetables, as they retain 15% more nutrients. Look for ripeness indicators like tomato shoulders turning red or cucumber spines softening. Here’s a quick guide:
- Tomatoes: Firm with a deep color and slight give when squeezed.
- Cucumbers: Bright green and firm, with smooth skin.
- Leafy Greens: Harvest outer leaves when they’re young and tender.
Storing Your Produce
Proper storage extends the shelf life of your harvest. Root cellars are a great way to store root vegetables, keeping them fresh up to six times longer. For leafy greens, hydrocooling at 40°F preserves crispness. Here are some preservation methods to try:
- Blanching: Preserves texture before freezing.
- Dehydrating: Ideal for herbs and fruits.
- Canning: Perfect for long-term storage of sauces and jams.
Don’t forget to track your yield using a notebook or app. This helps you plan better for the next garden season. Whether you’re saving seeds or experimenting with fermentation, harvesting is a skill that keeps giving.
Conclusion
Starting your garden journey is both exciting and rewarding. The first year is a learning process, and a 65% success rate is completely normal. Don’t be discouraged by setbacks—each season brings new opportunities to grow.
As winter approaches, prepare your garden for the colder months. Test your soil and maintain your tools to ensure they’re ready for the next planting season. These small steps make a big difference in the long run.
For extra support, tap into community resources like Master Gardener hotlines. They offer expert advice to help you troubleshoot and improve your skills. Tracking your progress with a photo journal is also a great way to see how far you’ve come.
Ready for a new challenge? Consider adding pollinator habitats to your garden. This not only benefits your plants but also supports local wildlife. Gardening is a journey that brings families closer to nature and creates lasting memories.

