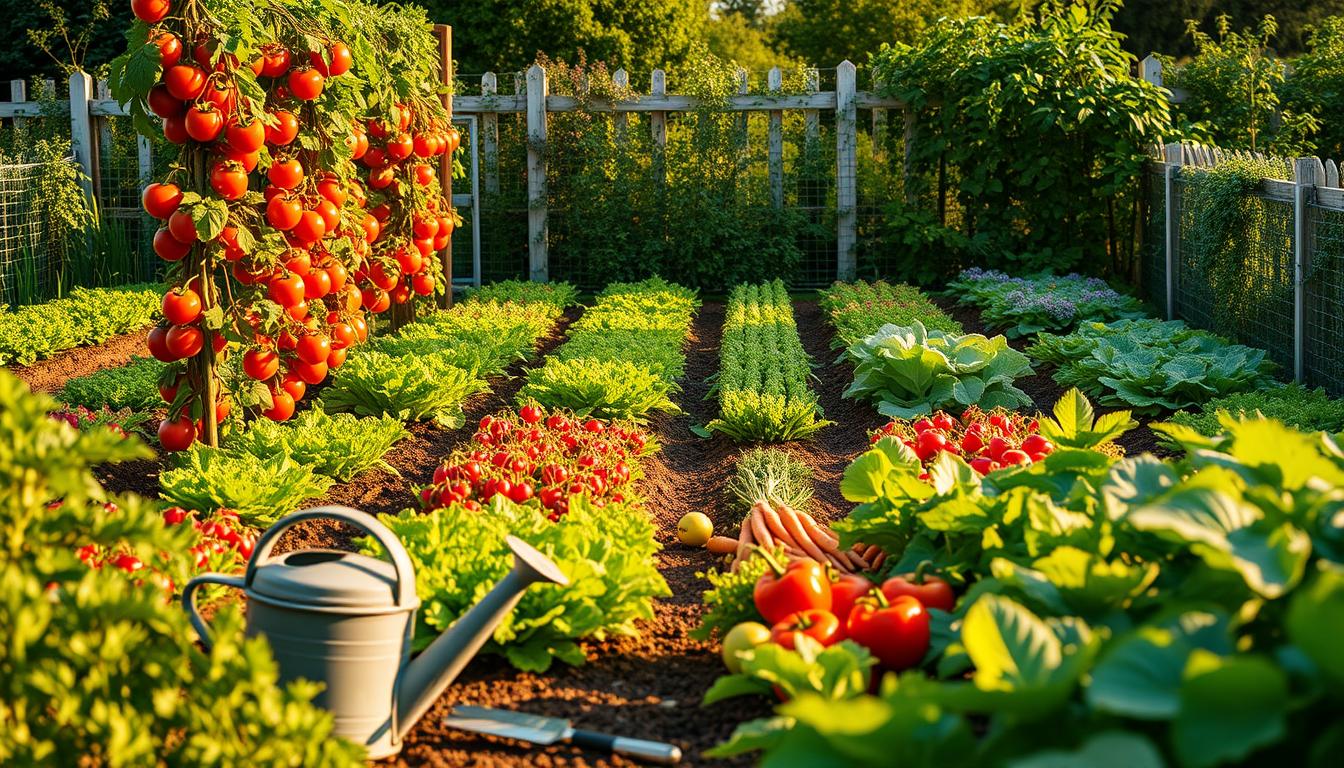
Growing your own fresh produce at home is a rewarding experience. It’s not just about the delicious flavors you’ll enjoy but also the satisfaction of nurturing plants from seeds to harvest. With rising interest in home gardening, now is the perfect time to dive in.
Starting small, like with a 4x4ft raised bed, makes the process manageable for beginners. You’ll save money, improve your mental well-being, and enjoy healthier meals. The Old Farmer’s Almanac says, “Every gardener was once a beginner,” and with the right steps, you can succeed too.
This guide will walk you through a simple 7-step framework to ensure your first season is a success. From preparing the soil to choosing the right crops, you’ll find everything you need to get started.
Key Takeaways
- Growing fresh produce at home is both rewarding and enjoyable.
- Start small with a 4x4ft raised bed for simplicity.
- Enjoy benefits like better taste, cost savings, and mental health rewards.
- Follow a 7-step framework for guaranteed success.
- Every gardener begins as a beginner—take the first step today.
Why Start a Vegetable Garden?
Homegrown crops provide unmatched flavor and health advantages. Studies show that produce from your own space often has higher nutrient levels compared to store-bought options. According to the USDA, freshly harvested vegetables retain more vitamins and minerals, making them a healthier choice for your meals.
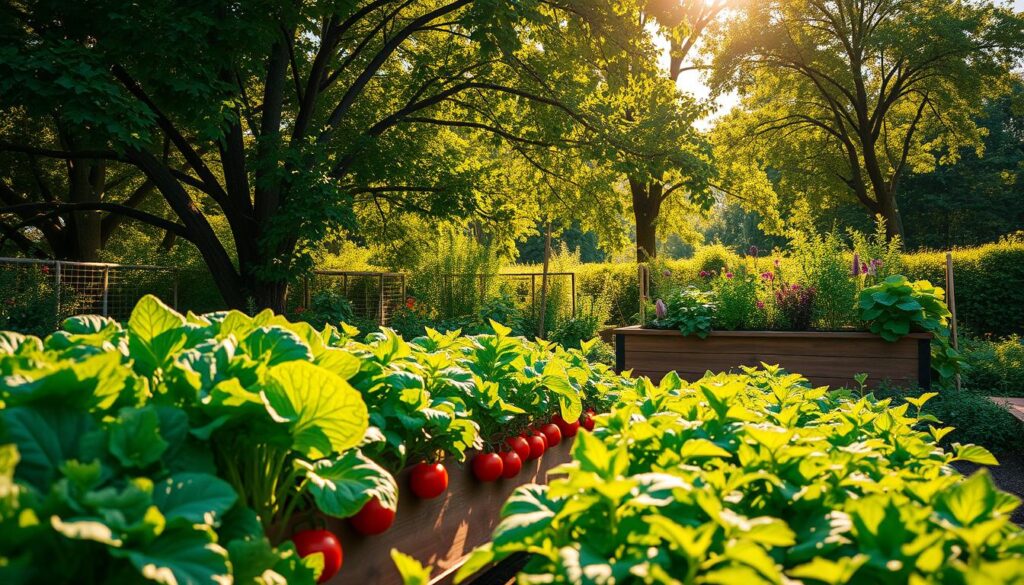
Starting a small plot can also save you money. On average, a $70 investment in seeds and supplies can yield over $600 worth of fresh produce. That’s a potential 40% reduction in your grocery bill! Plus, you’ll enjoy the satisfaction of eating food you’ve grown yourself.
Gardening isn’t just about the harvest; it’s also great for your mental health. A Cornell University study found that spending time in the garden reduces stress and improves overall well-being. It’s a therapeutic activity that connects you with nature.
Beyond personal benefits, your efforts make a positive environmental impact. A single home garden can offset up to 100 pounds of CO2 annually. That’s a small step toward a greener planet.
Take inspiration from an urban family who grew 80% of their summer produce in just 100 square feet. With a little effort, you can achieve similar success and enjoy fresh, healthy food all season long.
- Higher nutrient levels in homegrown produce (USDA).
- Save money: $70 investment yields $600+ in fresh food.
- Reduce stress and improve mental health (Cornell University).
- Offset 100lbs of CO2 annually with one garden.
- Success story: Urban family grows 80% of summer produce in 100sq ft.
Choosing the Perfect Location for Your Garden
Finding the right spot for your plants is the first step to a thriving harvest. The location you choose will impact their growth, health, and productivity. Focus on factors like sunlight, soil quality, and protection from harsh elements.

Sunlight and Drainage
Plants need at least 6-8 hours of direct sunlight daily. Use tools like the “Sun Seeker” app to track daily patterns in your space. This ensures your plants get the light they need to thrive.
Good drainage is equally important. Poor drainage can harm roots and lead to waterlogged soil. To test drainage, dig a 12-inch hole, fill it with water, and check if it drains within 4 hours. If not, consider raised beds to improve conditions.
Protection from Wind and Foot Traffic
Strong winds can damage plants and dry out the soil. Temporary solutions like burlap screens or permanent shrub barriers can act as windbreaks. These protect your plants while adding aesthetic value to your space.
Foot traffic can compact the soil, making it harder for roots to grow. Use decorative fencing to keep pathways clear and protect your plants. South-facing walls can also create a microclimate, ideal for heat-loving plants.
“A well-planned location ensures your plants get the best start possible.”
By considering these factors, you’ll create an environment where your plants can flourish. A little planning goes a long way in ensuring a successful growing season.
Planning Your Garden Layout
A well-thought-out layout is the backbone of a thriving growing space. Whether you’re working with a small balcony or a spacious backyard, careful planning ensures every inch is used efficiently. Start by deciding on the size and shape of your planting area, keeping in mind your available space and goals.
Deciding on Garden Size
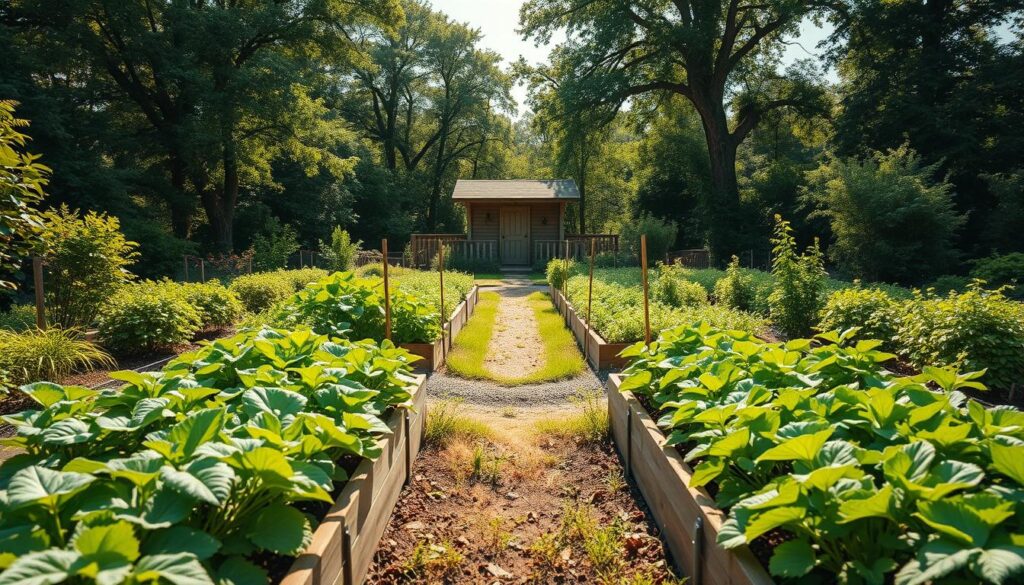
For beginners, a 10x10ft area is a manageable starting point. If space is limited, consider 4x4ft raised beds or containers. These options are compact yet productive, making them ideal for small spaces. Raised beds also improve soil drainage and reduce the need for bending, making gardening more comfortable.
Designing Paths and Access Points
Ergonomic paths are essential for easy movement and maintenance. Aim for a minimum width of 18 inches to allow comfortable kneeling and walking. Use materials like gravel or wood chips to prevent soil compaction and keep your space tidy.
Vertical gardening is another smart way to maximize space. Trellis systems can save up to 60% of your area while supporting climbing plants like beans or cucumbers. Companion planting, such as the Three Sisters method (corn, beans, and squash), also optimizes space and boosts plant health.
“A well-planned layout ensures your plants thrive while making maintenance a breeze.”
Don’t forget accessibility features. Elevated beds are a great option for wheelchair users or those with limited mobility. These designs bring the plants closer to you, reducing strain and making gardening more inclusive.
- Choose between 10x10ft in-ground or 4x4ft raised beds for beginners.
- Design paths with a minimum width of 18 inches for comfort.
- Use trellis systems to save space and support climbing plants.
- Try companion planting for healthier crops and efficient space use.
- Consider elevated beds for accessibility and ease of use.
For more beginner-friendly gardening tips, check out this guide to get started on the right foot.
Selecting the Right Vegetables to Grow
Choosing the right plants for your space can make all the difference in your success. Whether you’re a beginner or have some experience, picking crops that suit your climate and skill level ensures a rewarding harvest. Start with easy-to-grow options and gradually expand as you gain confidence.
Easy Vegetables for Beginners
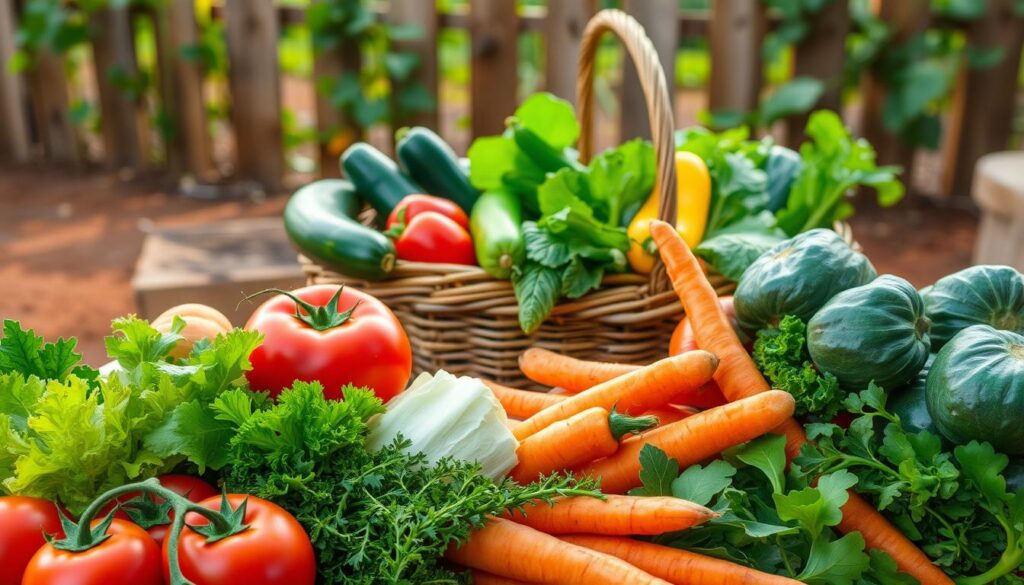
If you’re new to growing, focus on low-maintenance plants like lettuce, tomatoes, and beans. These crops are forgiving and produce quick results, making them ideal for first-timers. Lettuce grows fast and can be harvested in just a few weeks, while tomatoes and beans offer continuous yields throughout the season.
Consider starting with a 90-day success plan: plant radishes (25 days), followed by bush beans (60 days), and finish with kale for continuous harvests. This approach keeps your space productive and gives you a variety of fresh produce.
Considering Your Climate and Growing Zone
Your local climate plays a big role in determining which plants will thrive. Use the USDA’s interactive zone map to identify your growing zone and select crops suited to your area. For example, heat-tolerant varieties like ‘Solar Fire’ tomatoes and ‘Bamboo’ carrots are perfect for warmer regions.
Plan your planting schedule using a seed starting calendar. This tool provides optimal dates for sowing 20 common crops, ensuring your plants get the best start. If you end up with excess produce, try quick-pickle recipes to preserve your bumper harvests.
“The right plants in the right place lead to a thriving garden.”
By selecting crops that match your climate and skill level, you’ll set yourself up for a successful and enjoyable growing season. Start small, experiment, and enjoy the process of nurturing your plants from seeds to harvest.
Preparing Your Soil for Planting
Healthy soil is the foundation of a successful growing space. It provides essential nutrients, supports strong roots, and ensures your plants thrive. Before planting, take the time to test and amend your soil for optimal results.
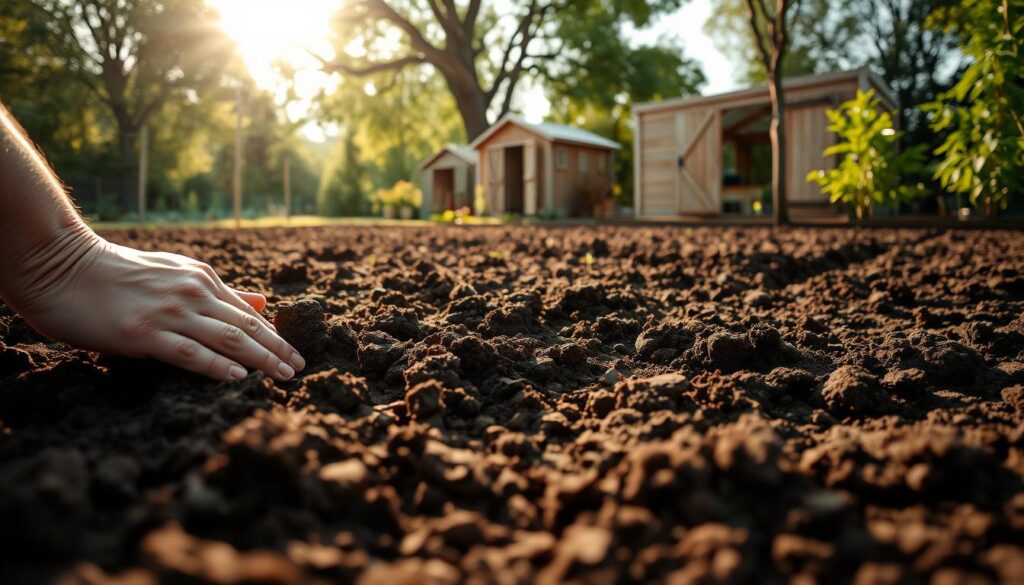
Testing and Amending Soil
Start by testing your soil to understand its pH and nutrient levels. A simple DIY test involves mixing vinegar and baking soda with soil samples. If the mixture fizzes, it indicates acidic or alkaline conditions.
Once you know your soil type, amend it with organic matter like compost. Adding 2-4 inches of compost improves texture and fertility. For a quick nutrient boost, try worm tea. Steep worm castings in water for 48 hours, then apply to your soil for enhanced microbial activity.
Adjusting pH is also crucial. Use lime to raise pH or sulfur to lower it, depending on your plants’ needs. Here’s a quick guide:
| Plant | Preferred pH | Amendment |
|---|---|---|
| Tomatoes | 6.0-6.8 | Lime |
| Blueberries | 4.5-5.5 | Sulfur |
| Lettuce | 6.0-7.0 | Compost |
Using Raised Beds or Containers
If your soil is poor or drainage is an issue, consider raised beds or containers. Raised beds allow you to control the soil quality and improve drainage. For containers, use a mix of 1:1:1 compost, perlite, and coconut coir for optimal growth.
Here’s a cost comparison to help you decide:
- Bagged soil: $5-$10 per bag
- Bulk delivery: $30-$50 per cubic yard
- Homemade compost: Free (with time and effort)
“Healthy soil means healthy plants. Invest time in preparation, and your efforts will pay off.”
By testing, amending, and choosing the right setup, you’ll create the perfect environment for your plants to flourish. Whether you use in-ground beds, raised beds, or containers, the key is to start with healthy soil.
Planting and Caring for Your Vegetables
Proper planting and care are essential for a bountiful harvest. From the right planting depth to effective watering techniques, every step ensures your plants thrive. Let’s explore the best practices to keep your crops healthy and productive throughout the season.
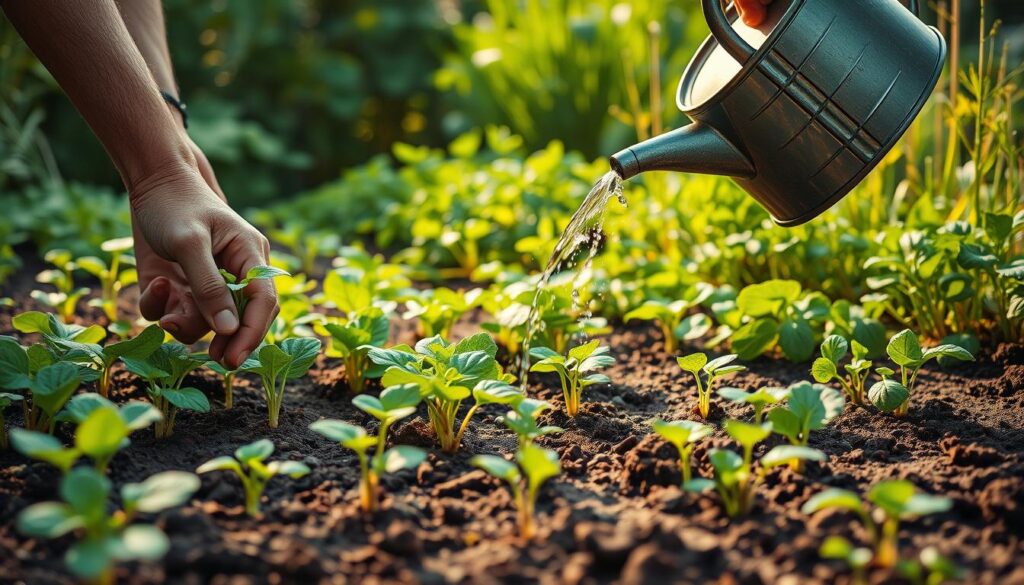
When and How to Plant
Timing is critical when planting. Start by checking your local frost dates to determine the best time for each crop. Planting too early or late can affect growth and yield. Use a planting calendar to stay on track.
Follow these guidelines for planting depth:
| Seed Size | Planting Depth |
|---|---|
| Small (e.g., lettuce) | 1/4 inch |
| Medium (e.g., beans) | 1 inch |
| Large (e.g., corn) | 2 inches |
For transplants, dig a hole twice the size of the root ball and gently place the plant. Firm the soil around it to eliminate air pockets.
Watering and Mulching Tips
Consistent watering is key to healthy plants. Drip irrigation systems, like the Rachio 3 or RainMachine, deliver water directly to the roots, reducing waste. Water in the early morning or late afternoon to minimize evaporation.
Mulching helps retain moisture and regulate soil temperature. Use organic materials like straw or wood chips, applying a 2-3 inch layer around your plants. This also suppresses weeds and reduces the need for frequent watering.
Managing Pests and Disease
Keep an eye out for common pests like aphids and caterpillars. Natural solutions, such as garlic spray, can deter them without harmful chemicals. Simply mix minced garlic with water, strain, and spray on affected plants.
Prevent disease by rotating crops every 7 days. This disrupts the life cycle of pathogens and keeps your soil healthy. Remove any diseased plants immediately to prevent spread.
“Healthy plants start with proper care. A little effort goes a long way in ensuring a successful harvest.”
By following these tips, you’ll create an environment where your plants can flourish. From planting to harvest, every step contributes to a rewarding growing experience.
Conclusion
Your journey to fresh, homegrown produce begins with a single step. Take inspiration from a first-year gardener who harvested over 50 pounds of tomatoes in just one season. With the right tools and a bit of time, you can achieve similar success.
Start with a 30-day challenge to track your progress. Use a printable checklist to stay organized and motivated. For support, connect with local extension offices or master gardener programs. They offer valuable resources and expert advice to help you thrive.
If you encounter issues, refer to a troubleshooting flowchart for quick solutions. From pests to soil problems, it covers common challenges. And don’t forget to plan for the next season—fall and winter offer unique opportunities to expand your skills.
Your perfect tomato awaits—get digging! With dedication and a little effort, you’ll enjoy the rewards of your harvest in no time. Happy gardening!

